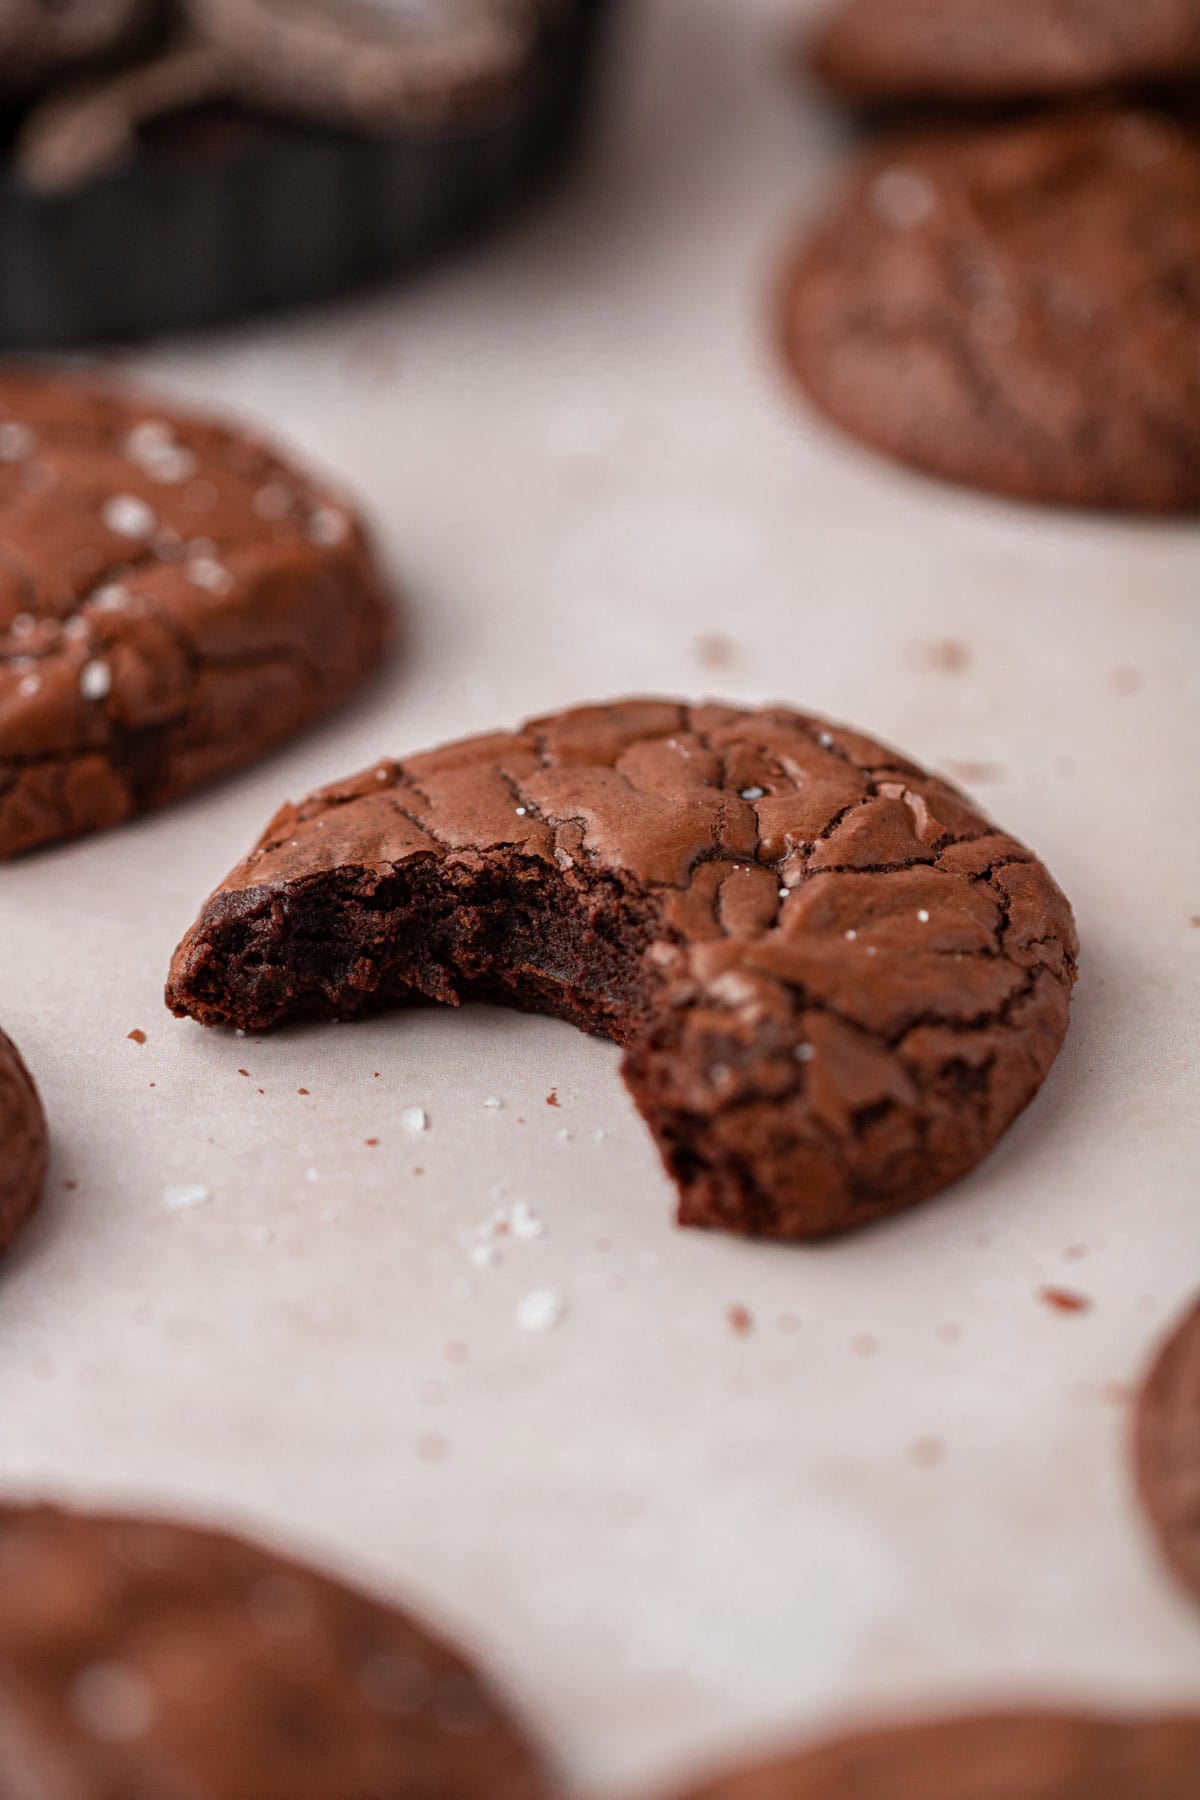
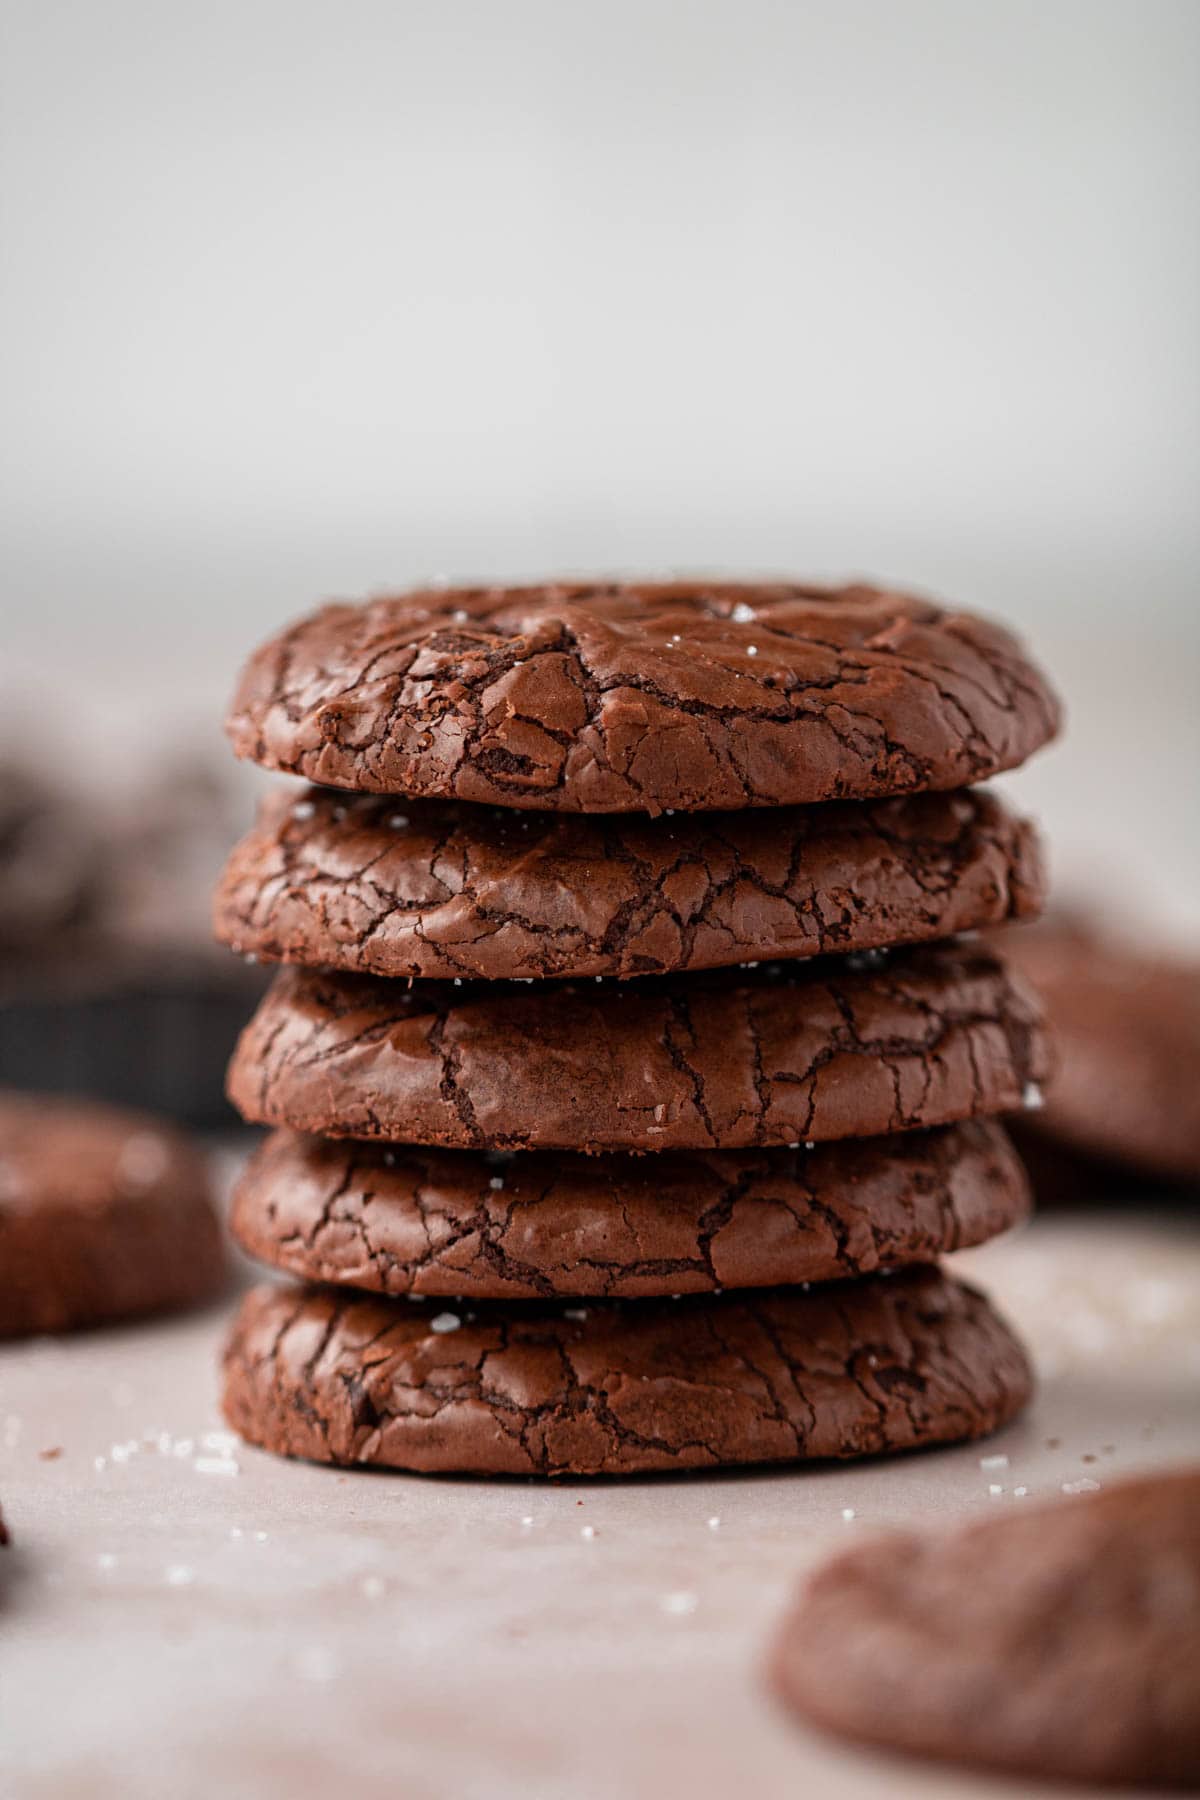
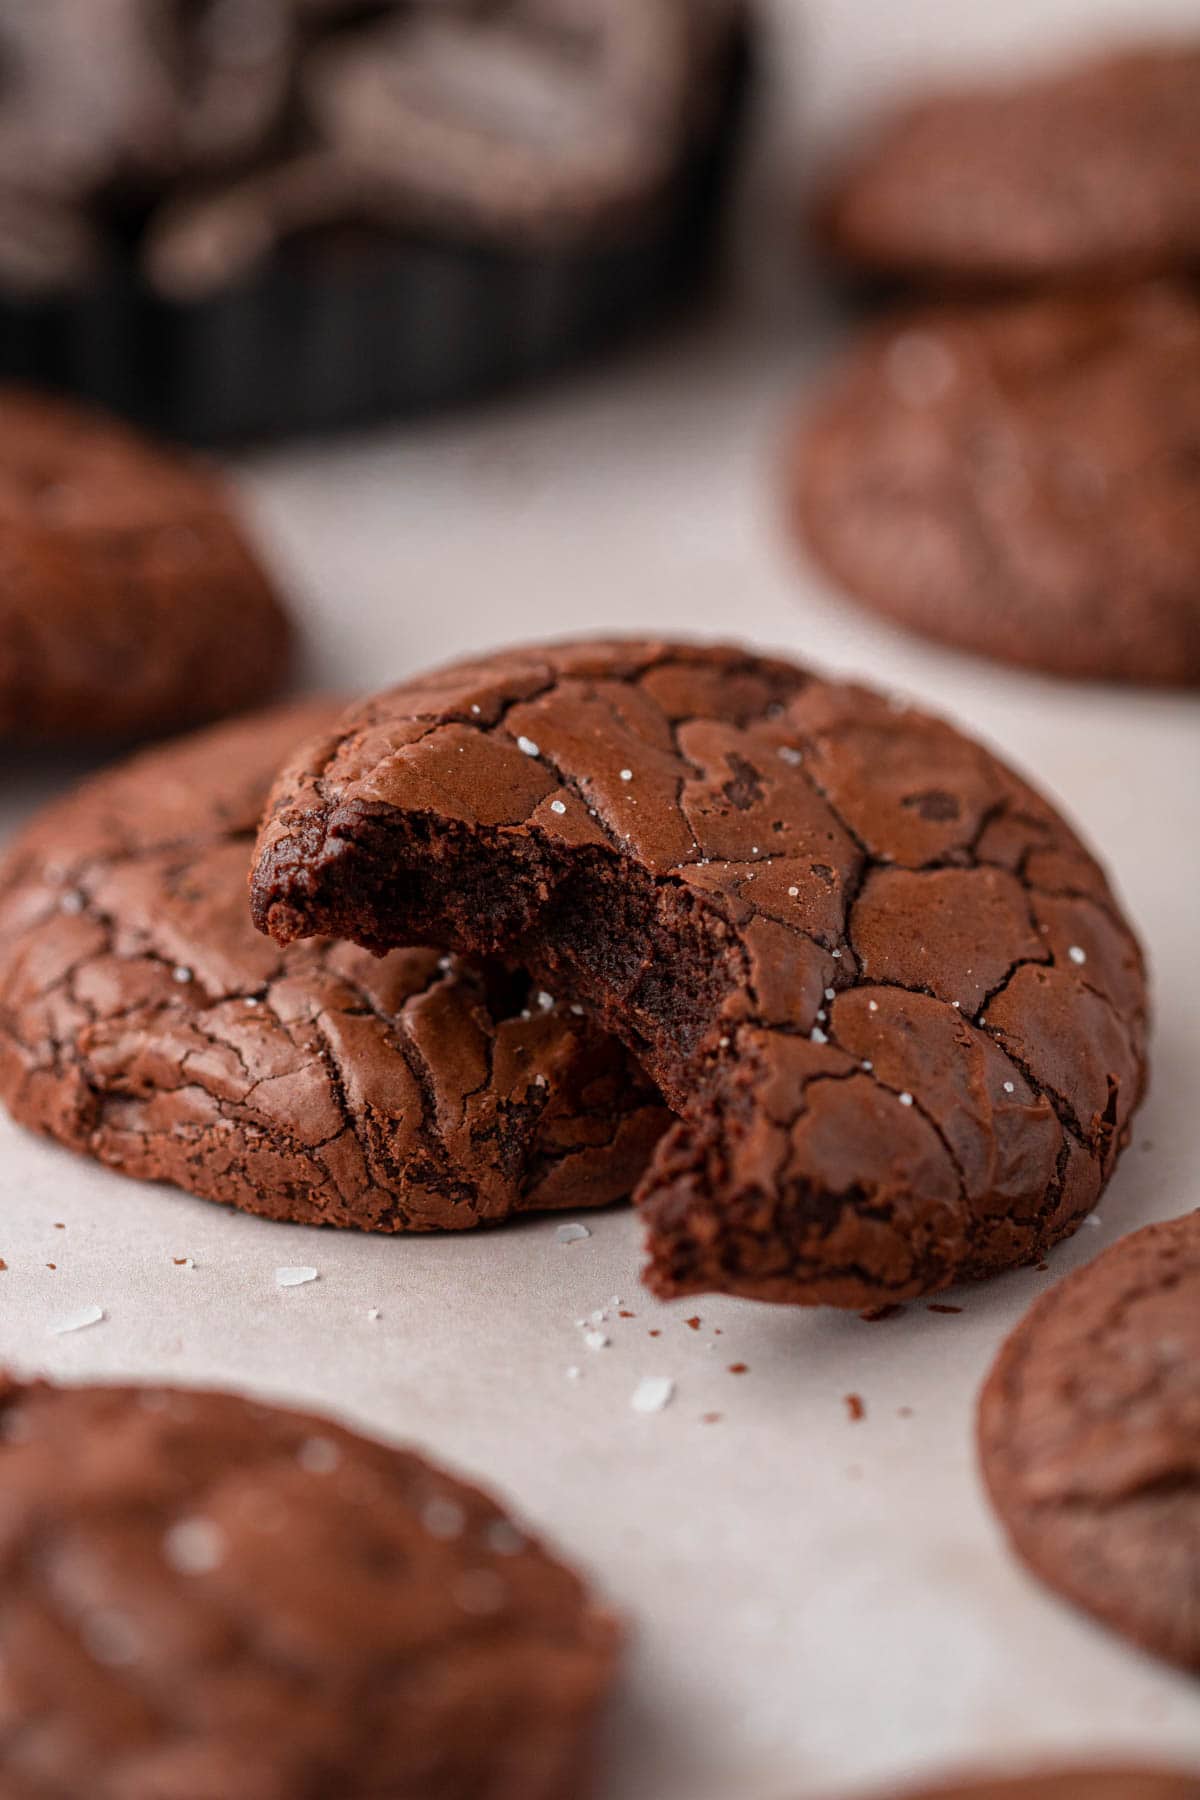
These Crinkle Brownie Cookies are rich, fudgy, and have a beautiful crinkle top. They're easy to make, and require no chill time. You can have delicious cookies in less than 30 minutes!

When you want a cookie, but also want a brownie, try making these Brownie Crinkle Cookies! They have a beautiful crinkly tops like my Brownie Bites and the most perfect fudgy brownie centers, like my Espresso Brownies! They're quick to whip up, and they bake up in less than 10 minutes, so the entire process will take you less than 30 minutes from start to finish. It's a perfect week day, or even weekend treat.
These cookies are incredibly easy, but can be a little finicky, so I provide a lot of tips on how to get the perfect brownie cookie ever time, as well as my own experience in testing out this recipe to achieve the perfect results.
Jump to:
♥ Why You'll Love This Recipe
Brownie & Cookie - You don't have to choose between brownie and cookie when it comes to these. You can have the best of both worlds!
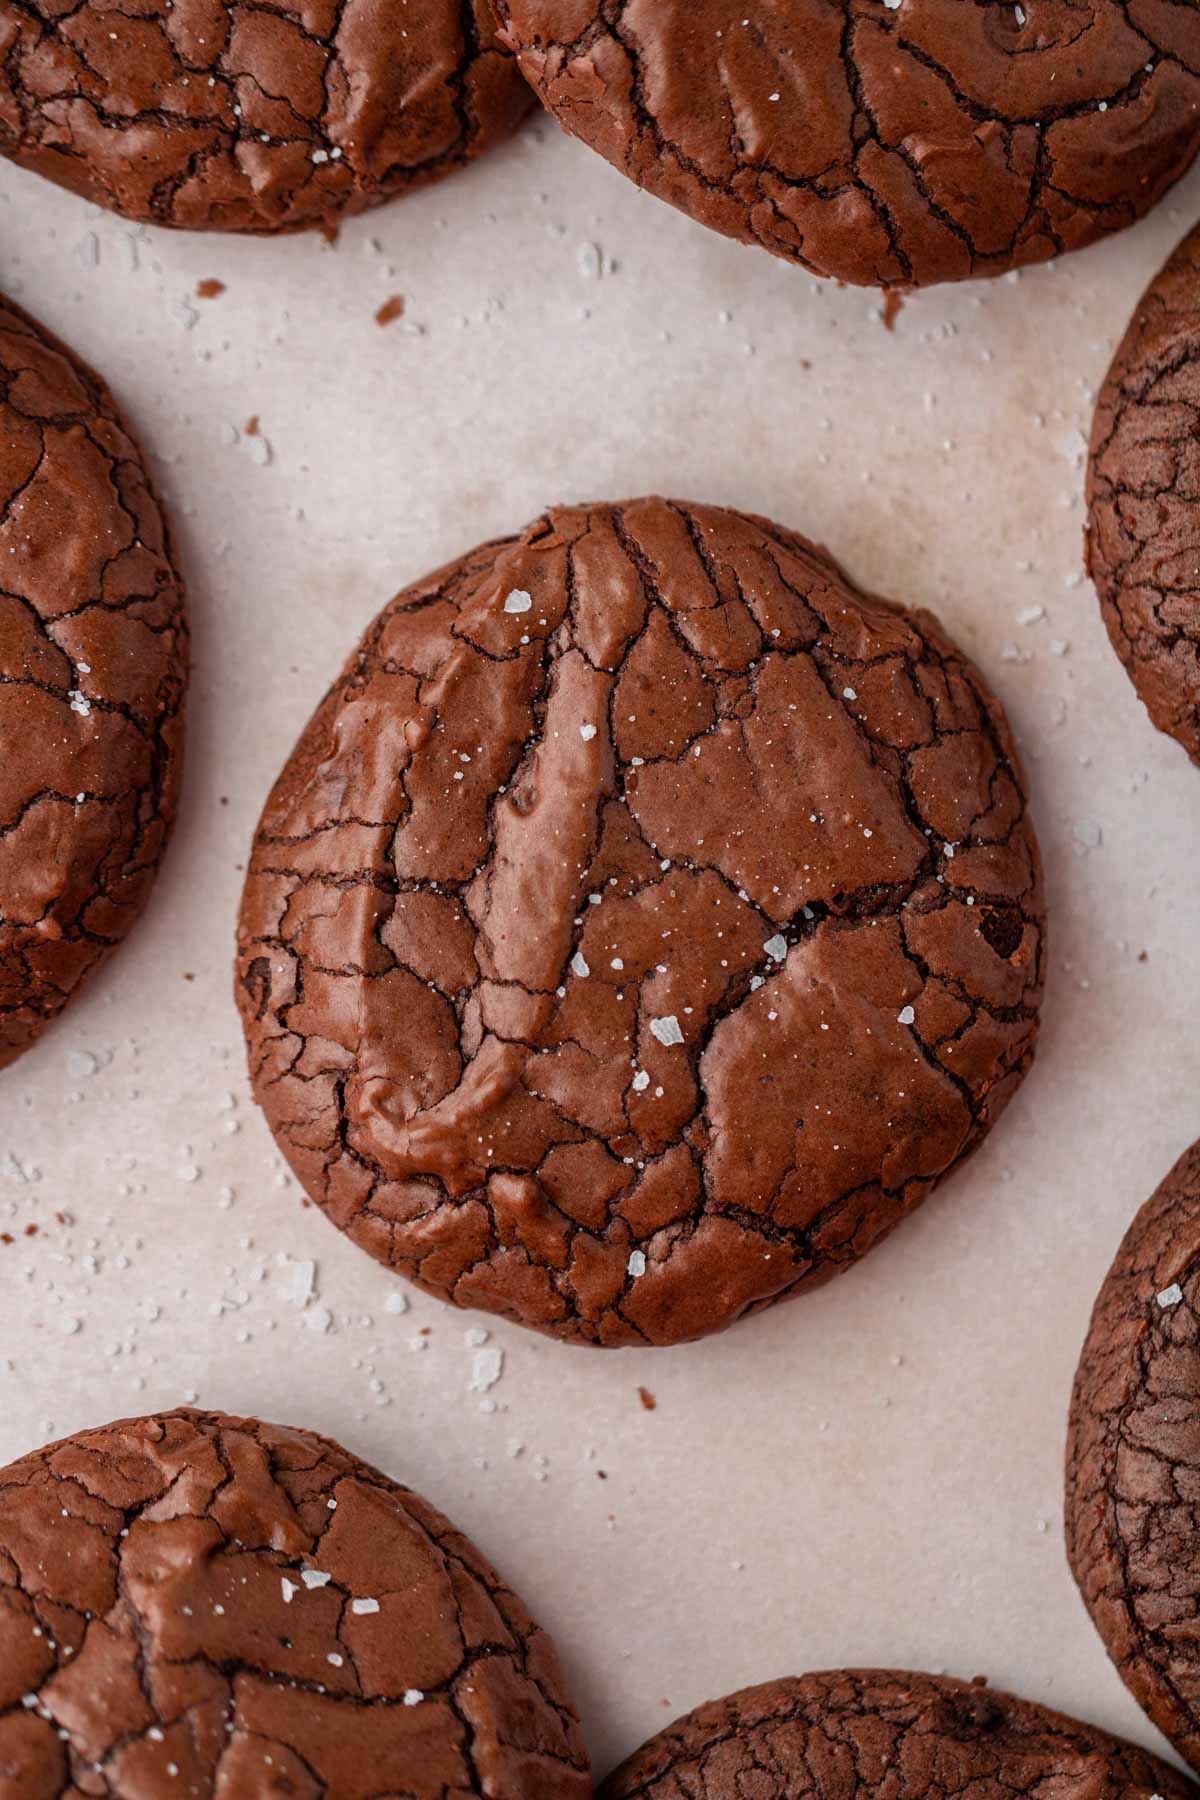
Crinkly Tops - They have the most perfect crinkly tops, which is achieved by whipping up the eggs and sugar at high speed.
Quick - If you're in the mood for a treat but don't have a lot of time on your hands, these are perfect because the entire process takes less than 30 minutes.
Rich and decadent - These cookies are incredibly flavorful and have deep chocolate decadence from all the chocolate that's added.
📝 Ingredient Notes
A full list of ingredients, quantities, and instructions are located in the recipe card at the end of the post.

- Flour: I like to use King Arthur Baking All Purpose Flour, but any brand works. Make sure it's All Purpose.
- Cocoa Powder: My favorite type of cocoa powder to use is Dutch Process cocoa powder because it has a much deeper taste.
- Baking powder: I add a little baking powder to give the cookies a bit of a lift.
- Dark chocolate: I have used straight 70%, but I've also used a mixture of 70% and 85% and both work. I've also used chocolate chips, but personally, I feel like high quality chopped dark chocolate is best.
- Butter: Unsalted butter is used in this recipe.
- Light brown sugar: I've used both light brown and dark brown sugars before. I like to use light brown best.
- Granulated sugar: I use very little granulated sugar for a couple reasons, to cut down a little on the sweetness, but also because granulated sugar spreads cookies more than brown sugar and I wanted to avoid more spreading.
- Eggs: Two large, room temperature eggs. The room temperature is important.
See recipe card for quantities.
🍴Special Equipment
Kitchen Scale: It's so important to use a kitchen scale for accurate results.
Baking Tray: A large half sheet baking pan to bake the cookies
Mixing bowls: I love using glass Mixing Bowls when making batters and doughs.
Mixer: You can use a stand mixer, or a handheld mixer for the brownie crinkle cookies.
Cookie Scoop: I use a large 3tbsp cookie scoop.
✨ Variations
Peppermint - During the holiday season, you can turn these into peppermint brownie cookies by adding ½ teaspoon to 1 teaspoon of peppermint extract and then sprinkling peppermint candy cane pieces on top after baked up.
Iced - You can add a chocolate or vanilla icing on top and then sprinkle some candy M&Ms.
Frosted - Make a simple espresso cream cheese frosting and spread it on top.
Sandwiches - Make ice cream cookie sandwiches with your favorite ice cream, like this delicious Dulce de Leche Ice Cream. Or, you could add a scoop of ice cream on top of a cookie, then sprinkle with this delicious Chocolate Granola Recipe.
Dubai Chocolate - Just like my Pistachio Brownies, you can top them with Pistachio Kataifi filling and chocolate ganache.
👩🔬Testing Phase
I had to make these four times to get the kind of cookie I wanted. Not to say any of those times didn't produce a delicious cookie, because it sure did (just ask my husband's co-workers who got to eat just about every batch), but they just weren't perfect for me. Let me tell you why!
- Batch 1: came out wonderful! They were darn perfect. Except half the batch I chilled to test out what would happen. After they chilled and I baked them, they didn't have a shiny crinkly top. The tops were quite dull. They tasted just as delicious though. So if you're ok with that, then by all means, chill your dough. Otherwise, don't chill your dough.
- Batch 2: I decided to experiment with this batch and increase the amount of cocoa powder as well as granulated sugar. It did not go well. The added cocoa powder dried out the dough so much that the cookies did not spread in the oven, there was no crinkly top, and the cookie was a lot drier than I would have liked. I personally did not like how they tasted, but some taste testers actually liked this batch. It just wasn't my thing.
- Batch 3: I reduced the amount of dark chocolate by 0.5 oz. and didn't beat the eggs/sugar enough. This batch tasted delicious, but because I changed those two factors, the cookies didn't have crinkly tops and the batter wasn't as loose, so it didn't smooth out in the oven while baking.
- Batch 4: I finally got it right because I finally went back to my recipe and followed the ingredients and directions to a T and it produced a beautiful batch of Crinkle Brownie Cookies.
🧊 What happens if you allow the cookies to sit before baking?
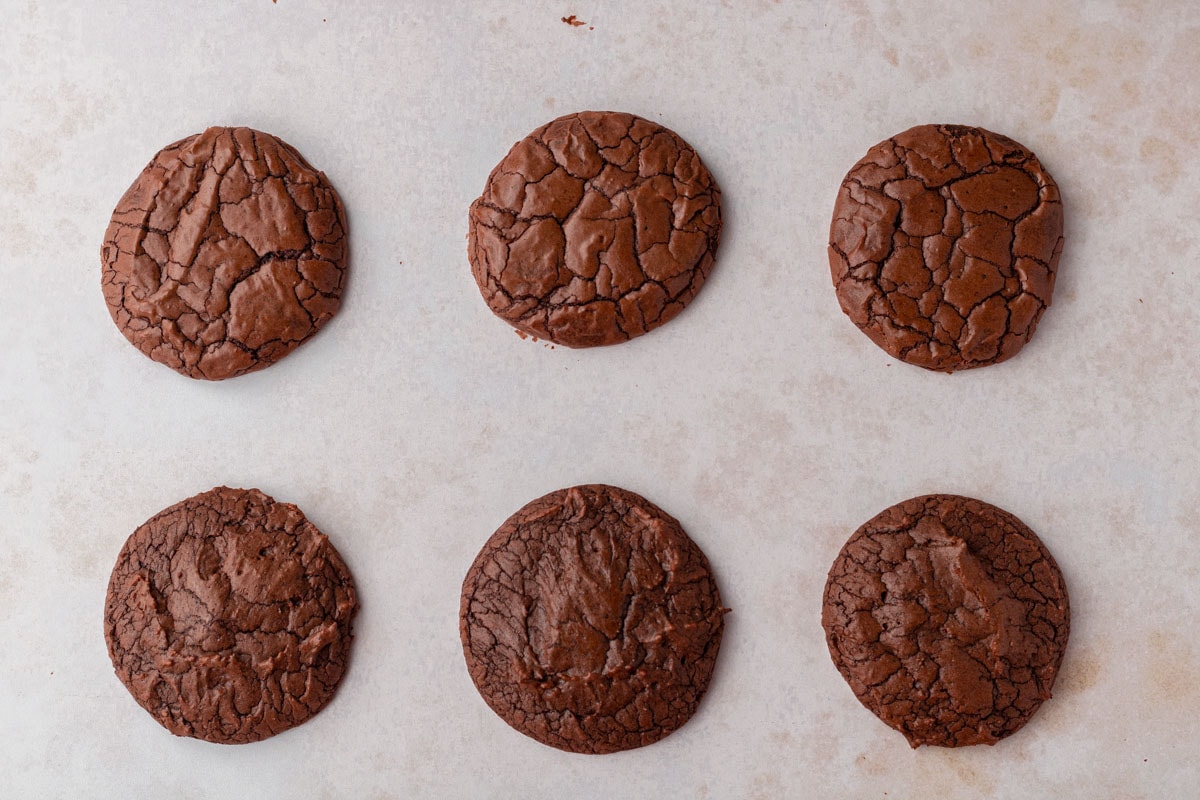
- Top -The cookies on the top were scooped and baked immediately after mixing the Crinkle Brownie Cookie dough.
- Bottom - The cookies on the bottom were scooped and baked once the first batch was finished baking, which was maybe 10 minutes after the batter was prepared.
The more the batter sits, the crinkle tops change and become less crinkly, if that makes sense. The more the batter sits, the less soft it becomes because you're allowing the chocolate to cool. They all taste exactly the same though, so no issues with taste. The presentation will look different though. Which isn't a big deal, in my book.

𓎩 Step-by-Step Instructions
A few instruction photos to help you nail this recipe every time.
These are quite finicky cookies. They're so easy, but they can absolutely get ruined (in appearance and texture anyway) if not made correctly. When testing this recipe out for the blog, I had to make them four times to get them the way I wanted.
Step 1
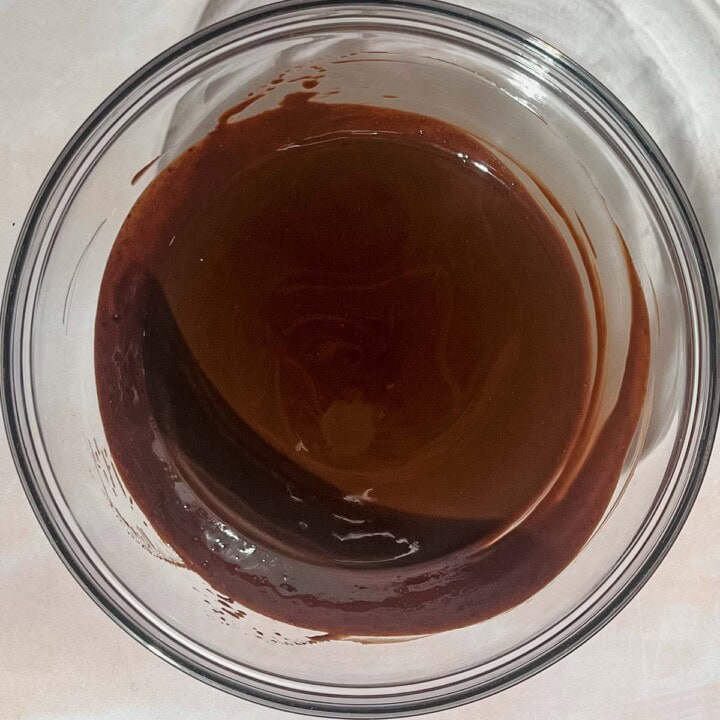
Melt the chocolate: Add butter and chopped chocolate to a microwave safe bowl and heat in 30 second increments, making sure to stir between each increment. Once completely melted, set it aside to cool for at least 10 minutes.
Mix Dry Ingredients: In a separate, small bowl, add flour, baking powder, salt, and cocoa powder and mix together until combined and set aside.
💡 Hint: Make sure you let the chocolate cool for at least 10 minutes before proceeding with the recipe.
Step 2
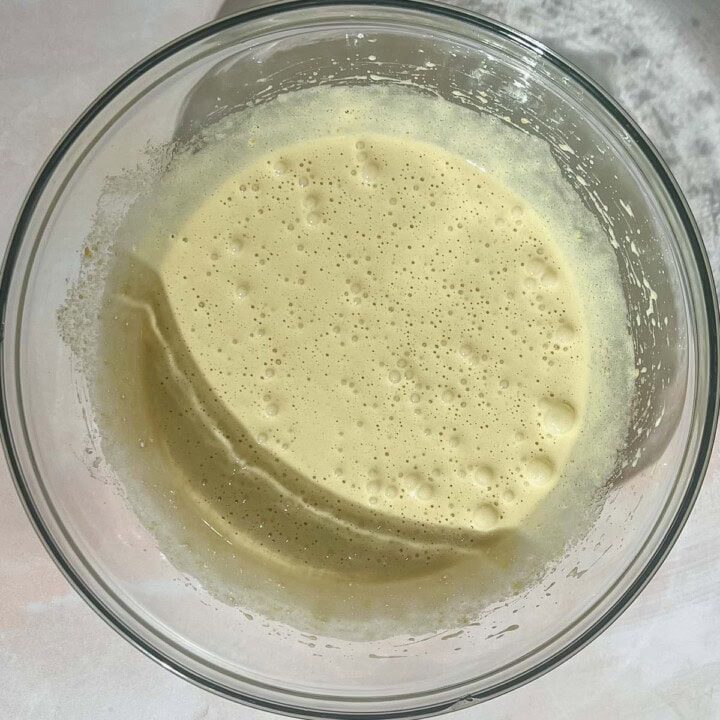
Beat Eggs: In a medium bowl, add the room temperature eggs, brown sugar and granulated sugar and beat on HIGH speed for about 5 minutes. You'll notice the egg mixture become very pale and ribbony, and that's what you're looking for in texture. I like to set a 5 minute timer on my phone to make sure I'm not cutting on time.

Step 3
Add chocolate: Slowly add the (cooled) chocolate to the egg mixture and beat on low speed until combined.

Step 4
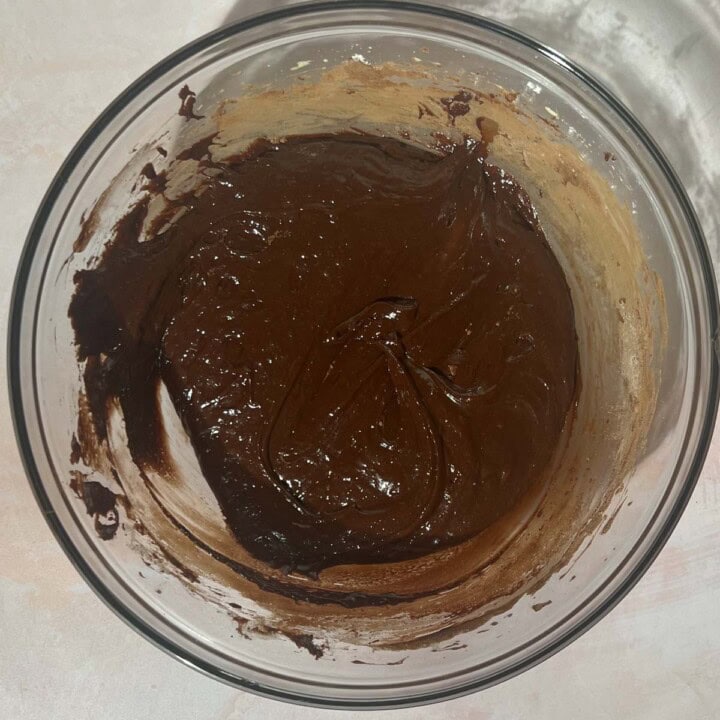
What the mixture should look like once all chocolate is added.
Combine dry ingredients: Slowly add the dry ingredients and fold using a spatula until JUST combined. Don't over mix.
Step 5
Once all the dry ingredients are added, the mixture should look like the image. The batter should be thick, but still loose.
💡 Hint: It's important to work quickly because the longer the batter sits, the chocolate will start to cool too much and the batter will stiffen up, resulting in cookies that don't have perfect crinkle tops. They'll taste exactly the same and delicious, but won't look as impressive.
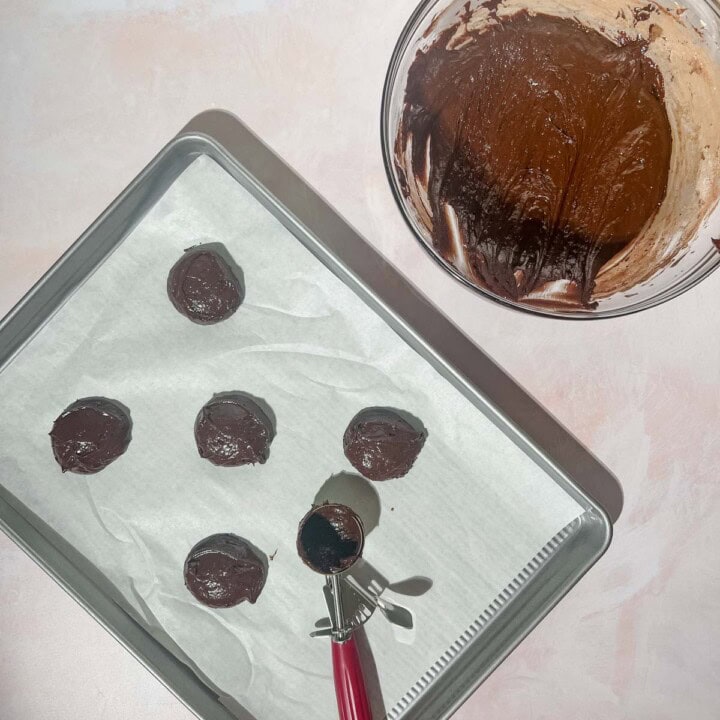
Step 6
Scoop & Bake: Scoop using a medium cookie scoop (3 TBSP) onto a lined baking sheet and bake for about 8 minutes. Cool before enjoying.
🎩Trick: To get round cookies, immediately after removing them from the oven, take a spoon and push the edges into a perfect circle. You can also use a large circle cookie cutter to create a perfectly shaped cookie.
💬 FAQ
It's possible you didn't beat your eggs enough. You're looking for the eggs to get to a pale color and a fluffy and ribbony texture, so beating the eggs for 5 minutes, and sometimes more, is needed. Make sure to use room temperature eggs because that could change the outcome.
So many things could be the cause of flat cookies, so make sure your eggs are room temperature so that it beats well with the sugar and incorporates air. But also make sure your chocolate is cooled for at least 10 minutes before adding to the eggs mixture. And lastly, use a spatula to mix in the dry ingredients and be sure not to over mix.
To get round cookies, immediately after removing them from the oven, take a spoon and push the edges into a perfect circle. You can also use a large circle cookie cutter to create a perfectly shaped cookie.
💡Pro Tips
Measure Flour Correctly - As always, with any recipe, use a kitchen scale, as it is the best form of measuring your ingredients. If you don't have a kitchen scale, fluff your flour, scoop flour with a spoon into a measuring cup and level off.
Cool Chocolate: Once chocolate has melted, make sure to cool it for at least 10 minutes. This does two things: it prevents the eggs from scrambling once you combine the two, but it also thickens the chocolate a little so that when you bake them, the cookies don't turn out flat.
Beat the eggs: It's important to beat the eggs on HIGH speed for a very long time because it helps create the crinkly tops. If it helps, use a stand mixer.
Don't over mix: Once you add the dry ingredients, don't mix using the hand mixer or stand mixer. Make sure to use a spatula and only mix until the dry ingredients are incorporated.
Don't over bake: I bake my cookies for exactly 8 minutes because that's how long it takes to get a perfectly shaped cookie, but also keeps the centers fudgy.
High quality chocolate: I like using Ghirardelli, Lindt, or Guittard because I know they all taste wonderful in recipes. Here's more info on baking with the right chocolate.
Use Large Eggs: Make sure your eggs are large, because that could change the consistency of the batter.
Room Temperature Eggs: Make sure your eggs are room temperature and not cold because that could change the results of how your cookies turn out.
Don't chill the dough: Chilling the dough takes away from the crinkly tops. They'll still taste delicious and exactly as they should, but they won't look the same.
❄ Storage
These Crinkle Brownie Cookies will keep for about 4 days at room temperature, stored in a ziploc or airtight container. They're actually really good on days 2 and 3.
Did you make this recipe or any other recipe on my website? I'd love to hear about it! Please leave a 🌟 star rating and let me know how it went in the 📝 comments below. Don't forget to Tag me on Instagram or Facebook when you recreate a recipe! The feedback helps both me and the readers!
Also, be sure to add us as a trusted site on Google so that our recipes show up more in your searches!
📖 Recipe Card
Crinkle Brownie Cookies
Ingredients
- ⅔ cup (80g) all purpose flour
- ¼ cup (25g) dutch processed cocoa powder
- ¼ teaspoon salt
- ¼ teaspoon baking powder
- 5.5 oz. dark chocolate (70%), chopped
- 5 tablespoon unsalted butter cubed
- ¾ cup (150g) light brown sugar
- 2 tablespoon (30g) granulated sugar
- 2 eggs room temperature
Instructions
- Preheat the oven to 350° F.
- Line a baking sheet with parchment paper and set aside.
- In a bowl, weigh out the dry ingredients (flour, baking powder, cocoa powder, and salt) and whisk it all together, then set it aside.
- In a microwave safe bowl, add the chopped chocolate and cubed butter and melt in 30 second increments, making sure to stir between each increment. Then set it aside to cool, at least 10 minutes.
- In a medium bowl, add brown sugar, granulated sugar and the room temperature eggs and beat with a hand mixer (or stand mixer) for 5 minutes on HIGH speed until the egg and sugar mixture become a pale color, fluffy, and ribbony. It may take longer than 5 minutes, depending on your mixer.
- Slowly add the slightly cooled chocolate to the egg/sugar mixture and beat just until combined.
- Fold in the dry ingredients using a spatula and do not over mix. Just fold in until the dry ingredients are combined.
- Using a medium (3 tbsp) cookie scoop, scoop the cookie dough onto the baking sheet, and immediately bake for 8 minutes. I like mine fudgy in the center so 8 minutes is perfect.
- When baking is complete, remove from oven and let sit for a couple minutes before transferring to a cooling rack. Store in an airtight container.
Notes
- Weighing ingredients is highly recommended. Too much flour or cocoa powder could produce a drier cookie.
- Beat the eggs and sugar for at least 5 minutes. This helps create a crinkle top. Depending on your mixer, you may need to beat it longer.
- Do not chill the dough. Once the dough is mixed, immediately bake. This will help produce the shiny crinkly tops.
- Let the chocolate cool, which helps it thicken, but it also avoids scrambling the eggs.
- The longer the dough sits, the thicker it will get. If you can manage to bake all the cookies at once, it's highly recommended. Once the dough thickens, the taste will be the same, but the tops of the cookies won't be as smooth. Still delicious though.

Absolutely recommend this recipe. First of all it's super easy to make with simple ingredients, secondly no need of refrigerating the dough! ( Cookies in your belly faster), lastly that chocolatey flavour is unbeatable my whole family approved! Definitely making these again.
Thank you for the review, Shehana. I'm so happy you tried out the recipe and your family loved it! 🙂