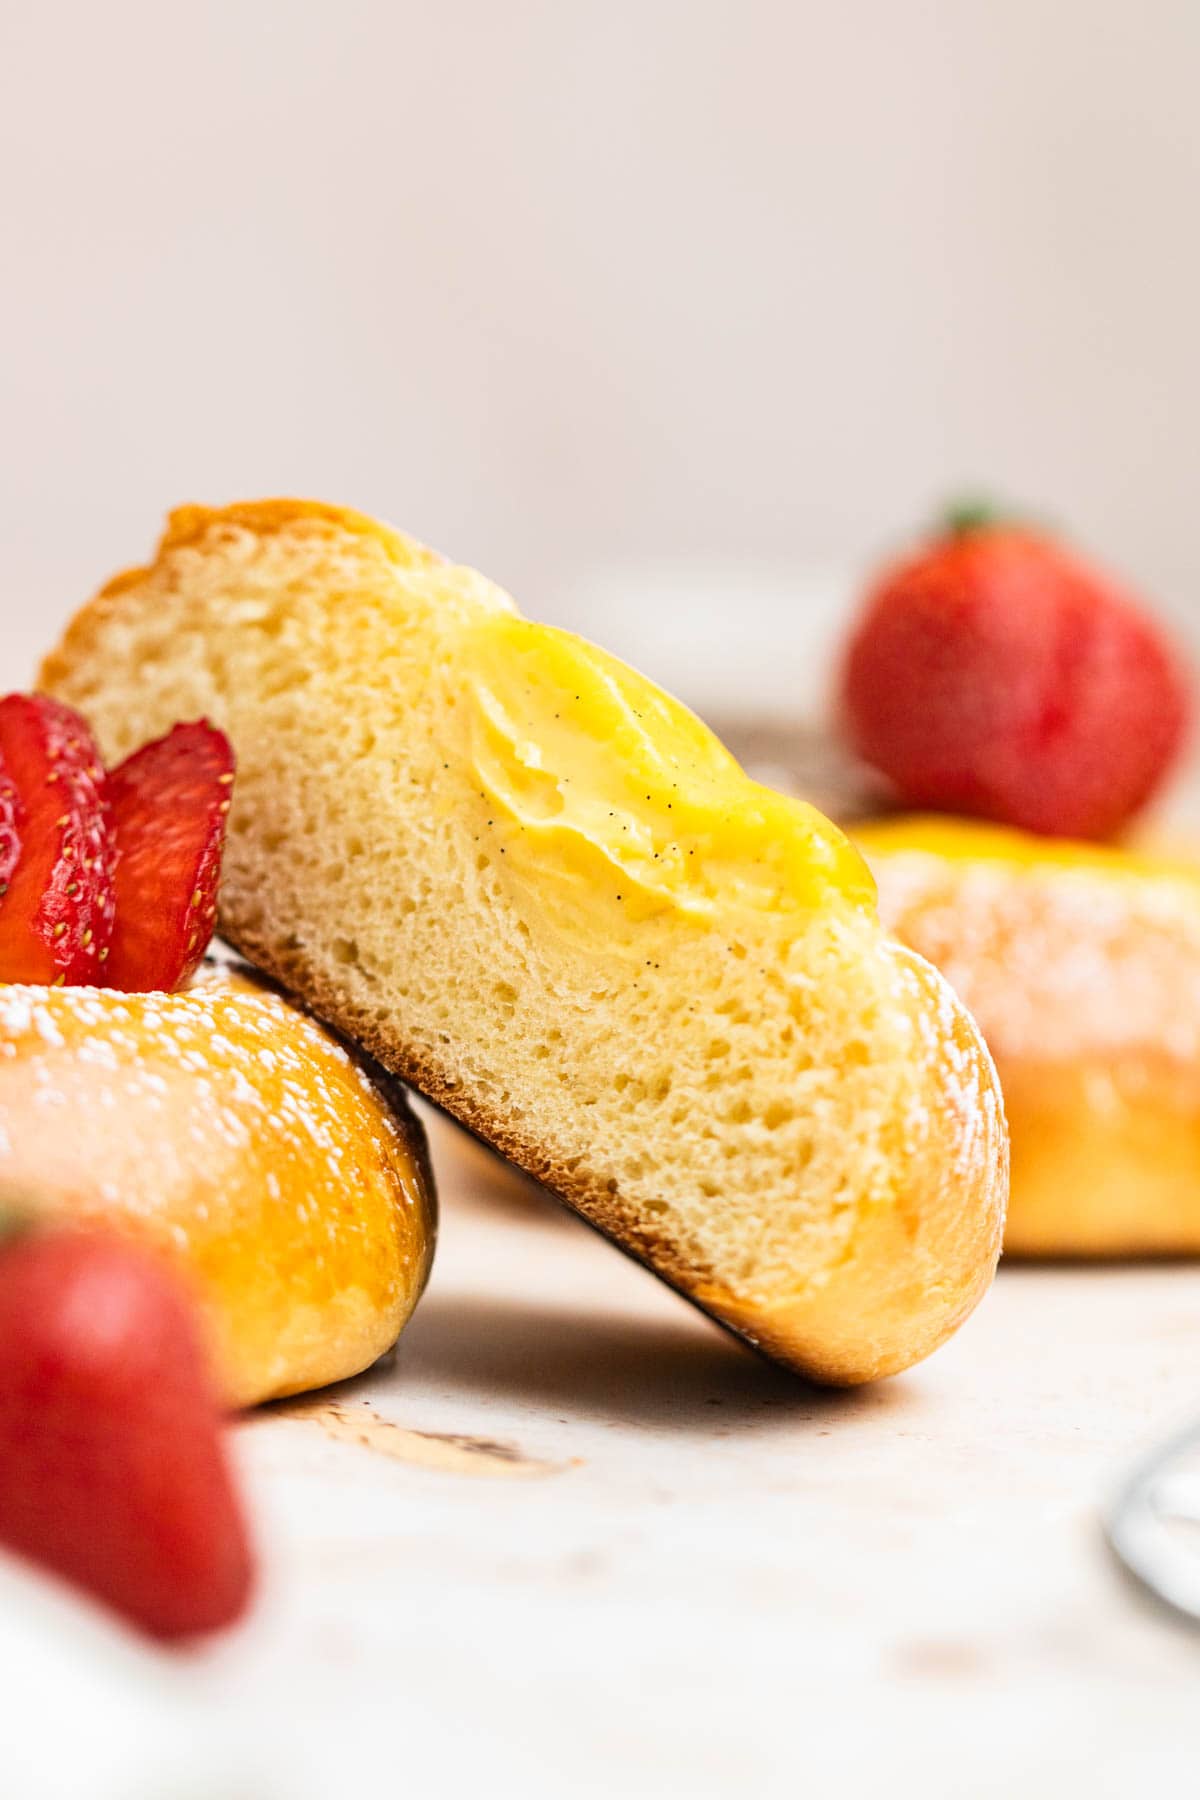
Soft, fluffy Vanilla Custard Brioche Buns, made with a fluffy dough and filled with homemade creamy vanilla bean custard, then baked to golden perfection. These sweet, rich buns offer a delicate balance of buttery dough and velvety custard, perfect for a cozy breakfast or dessert.

If you’re a fan of soft, pillowy buns with a decadent twist, then Vanilla Custard Brioche Buns are about to become your new obsession! Imagine buttery, melt-in-your-mouth brioche filled with silky, sweet vanilla custard — it's like a hug for your taste buds. Perfect for breakfast, dessert, or just a treat when you need a little something special, these buns are the ultimate crowd-pleasers. Whether you’re baking them for a cozy weekend or to impress at your next gathering, they’re guaranteed to disappear in a flash!
They're made with my trusted brioche dough recipe, and filled with an easy-to-make homemade pastry cream! If you want to take it up a notch, make some Crème brûlée Buns by using a kitchen torch to caramelize some sugar on top!
Jump to:
♥ Why You'll Love This Recipe
Soft, Fluffy Texture - The brioche dough is rich, buttery, and light, creating a melt-in-your-mouth experience with every bite!
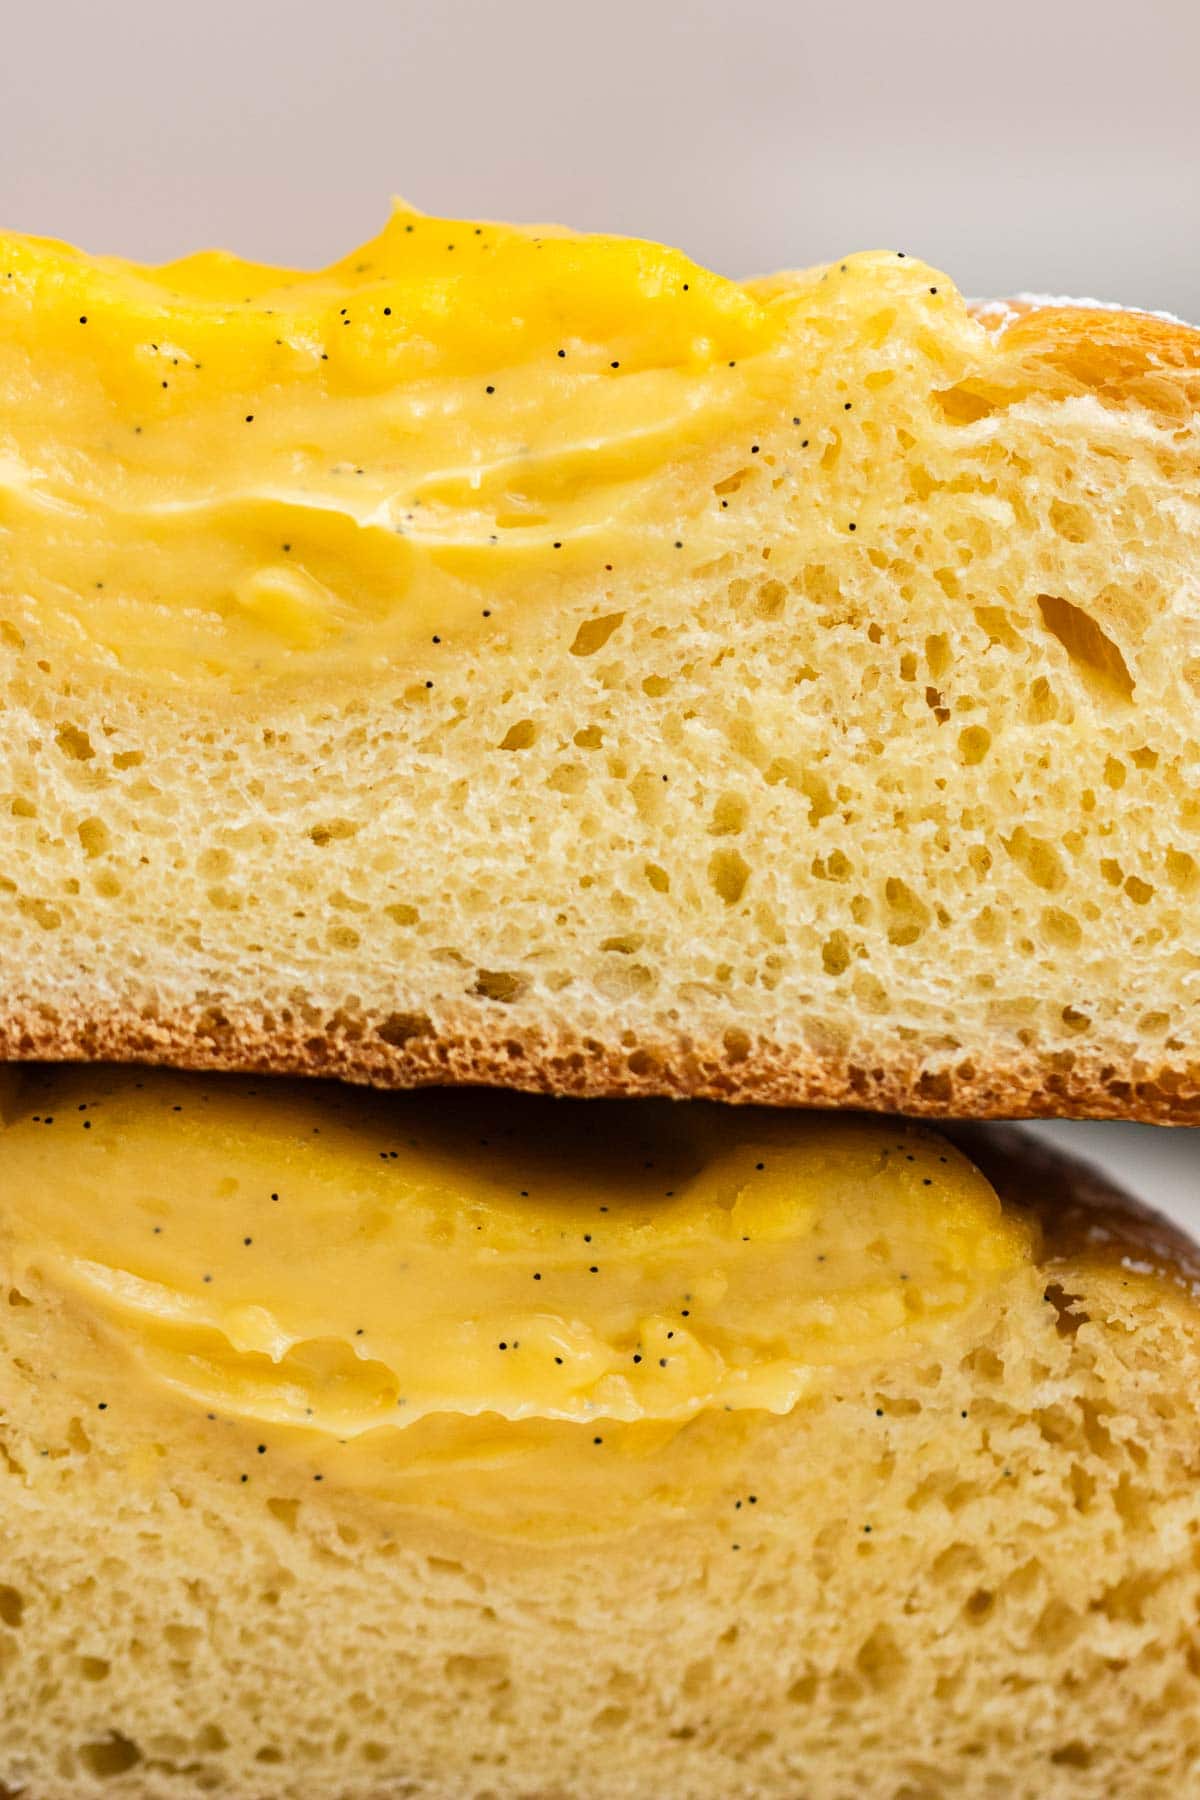
Sweet, Creamy Vanilla Custard - The custard filling adds a luxurious sweetness with a silky, smooth texture, offering the perfect contrast to the fluffy and soft dough.
Versatile and Indulgent - They’re perfect for breakfast, dessert, or as a special treat for gatherings. Whether enjoyed with a cup of coffee or as an afternoon snack, these buns satisfy a range of cravings.
Crème brûlée Buns - Feeling fancy? Take it up a notch by adding some sugar and caramelizing it, like I do with my Espresso Crème Brûlée.
🍮 What is Pastry Cream?
Pastry cream (crème pâtissière) is a rich, smooth custard made from milk, sugar, eggs, and cornstarch, often flavored with vanilla. It’s commonly used as a filling for pastries, cakes, and tarts, and a lot easier to make than you might think!
📝 Ingredient Notes
A full list of ingredients, quantities, and instructions are located in the recipe card at the end of the post.
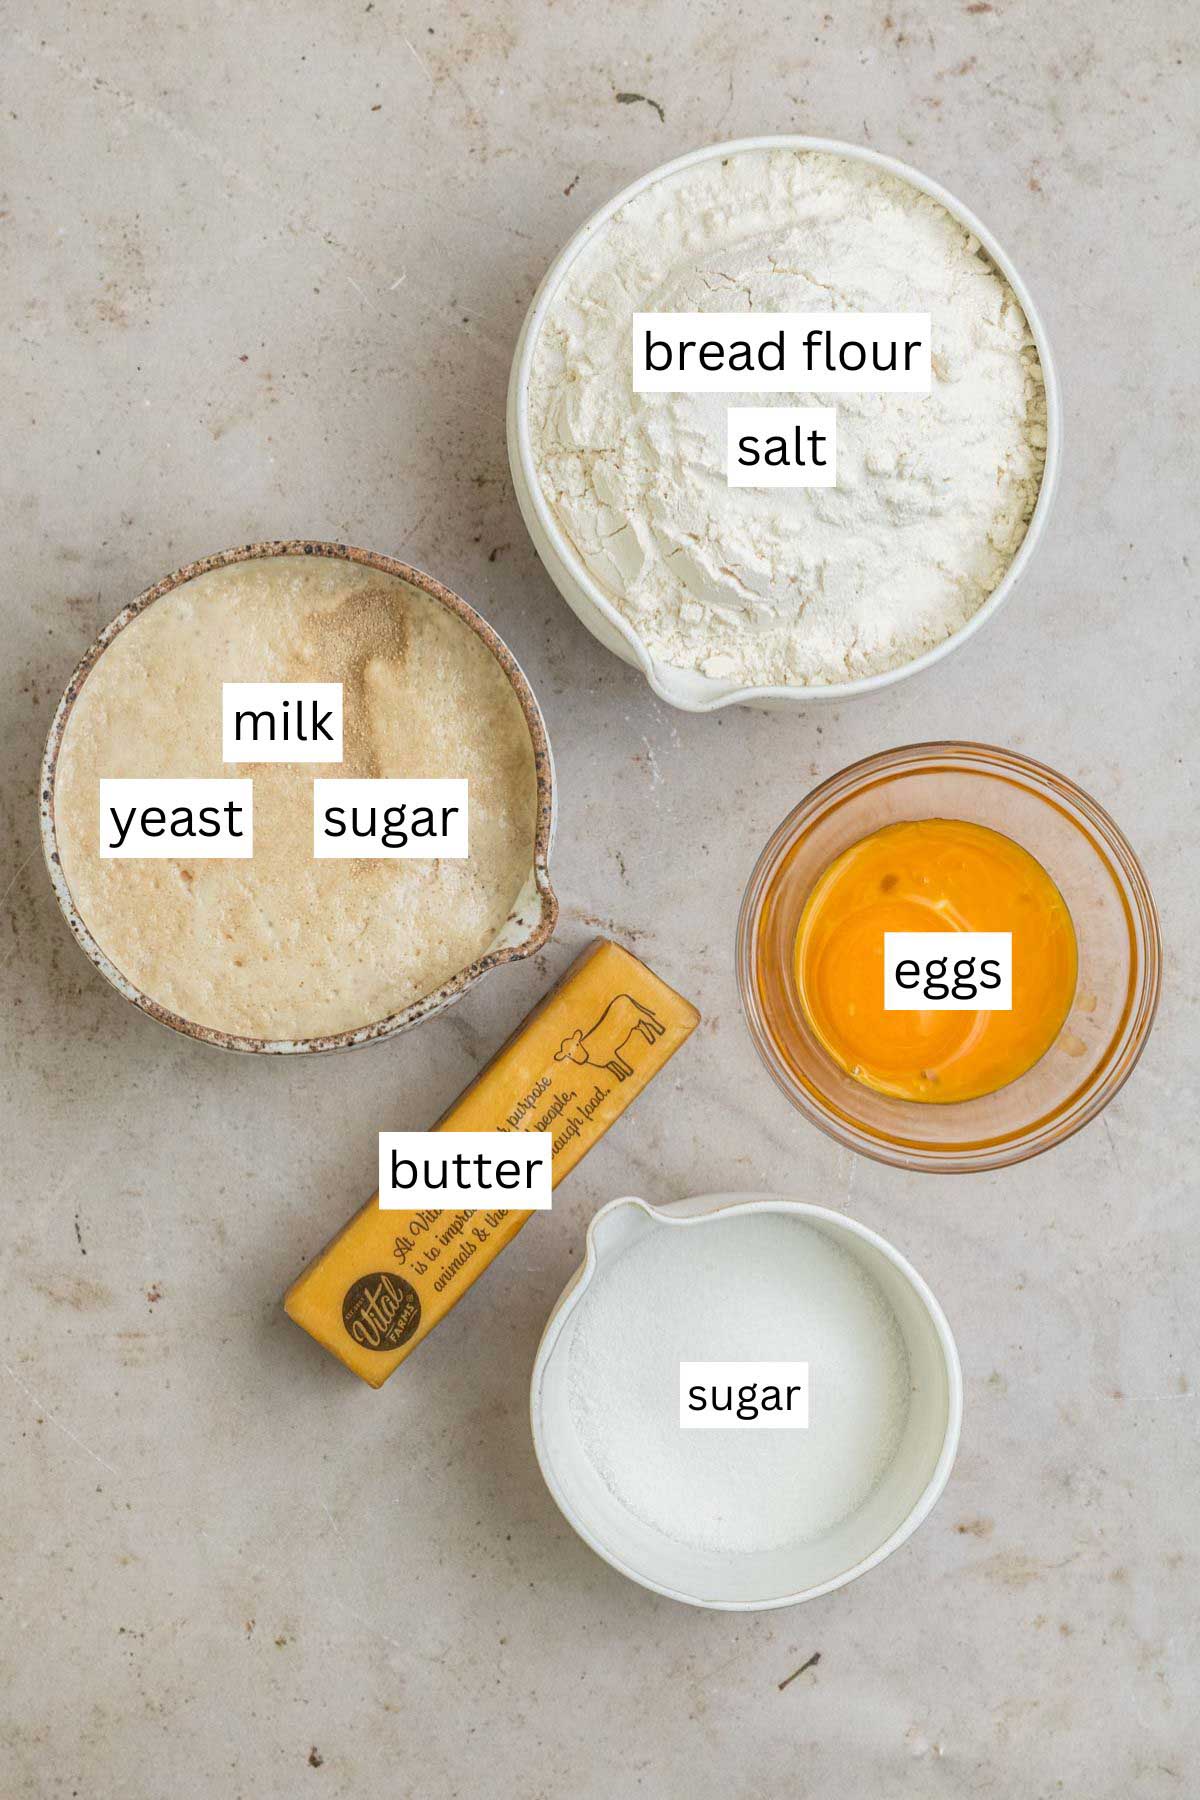
Sweet Brioche Dough
- Flour - This recipe can be used with either Bread Flour or All-Purpose Flour. I prefer bread flour, but if you don’t have any, all-purpose will work.
- Yeast - My favorite yeast to use is Active Dry Yeast, which requires proofing before adding it to the flour mixture.
- Milk - It’s best to use whole milk since this is an enriched dough, the more fat, the better.
- Salt - ALWAYS important in any recipe. Without salt, the bread will taste flat.
- Granulated Sugar - This adds sweetness to the Brioche dough and creates a bit more of a softness.
- Egg - I use two egg yolks for this recipe, adding more fat, without the added liquid of the whites.
- Butter - A key ingredient in Brioche is butter. This recipe calls 6 tablespoons of during softened butter during the second kneading. Make sure the butter is very soft, otherwise it will take a while to incorporate into the dough.
- Vanilla extract - This ingredient is optional. I like adding it to flavor the dough when I’m making a sweet dough. You can leave it out if you'd like.
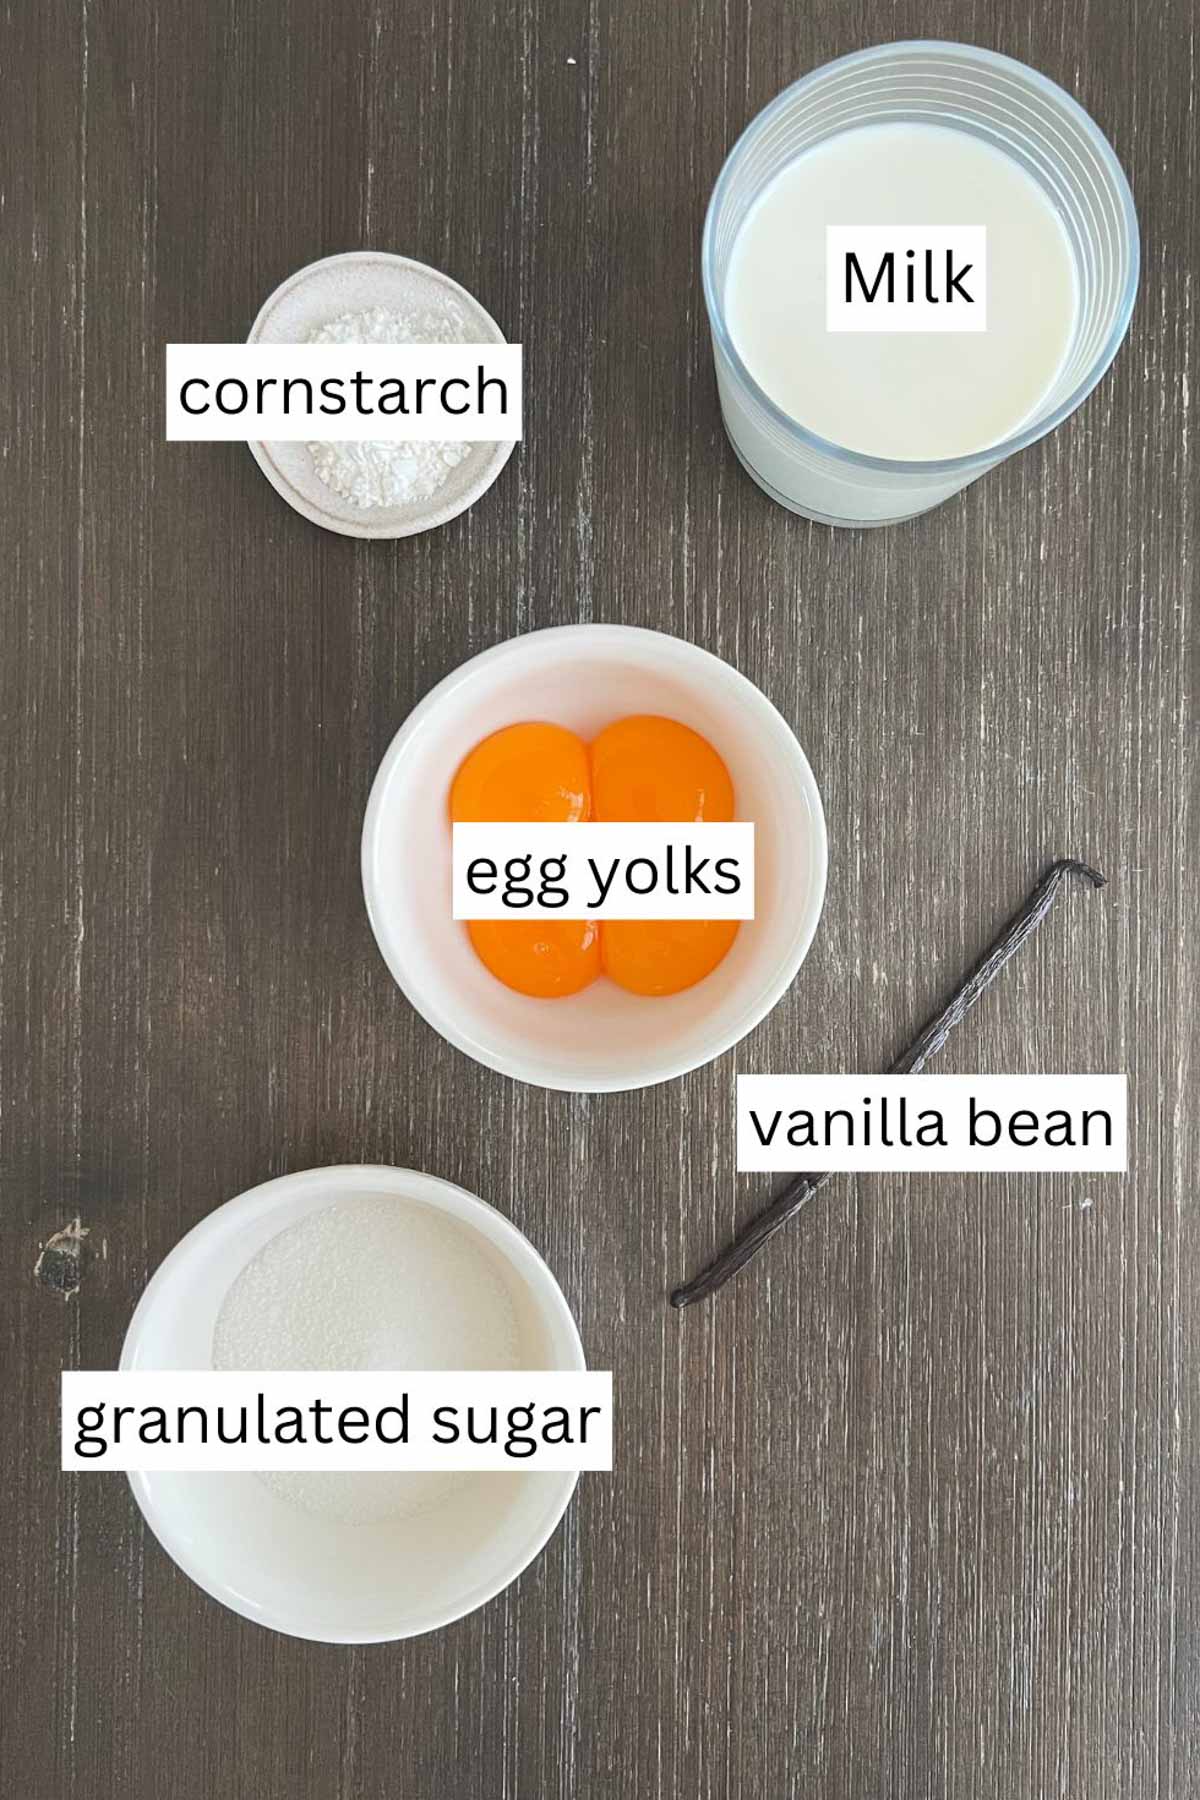
Vanilla Bean Pastry Cream
- Eggs: Using 4 large egg yolks creates richness, just like in my Lemon Curd recipe.
- Sugar: This helps sweeten the custard.
- Milk: I use whole milk, which is important for a thick and rich pastry cream.
- Cornstarch: This will thicken the pastry cream consistency.
- Vanilla bean: For the beautiful specks in this recipe, use either vanilla beans or vanilla bean paste.
See recipe card for quantities.
🍴Special Equipment
Kitchen Scale - It's so important to use a kitchen scale for accurate results.
Sheet Pan - Two large sheet pans to bake the buns.
Sauce pan - A medium sauce pan for the pastry cream.
Mixing bowls - I love using glass Mixing Bowls when making batters and doughs.
Spatula - A spatula would help scrape down the bowl.
Stand mixer - I use a stand mixer to knead my dough, since it will take a lot of elbow grease to do it by hand.
Hand Mixer: A handheld mixer to mix the pastry cream once refrigerated.
Strainer/sieve - A fine-mesh strainer or sieve to pour the pastry cream through.
✨ Variations
I have several different brioche buns variations that you could try.
Lemon Curd - switch out the cranberry sauce with lemon curd, like my Lemon Curd Buns recipe.
Pumpkin - A perfect fall recipe, or any other time you're craving pumpkin, use my Pumpkin Brioche Buns.
Apple - This is one of my favorite, and also a favorite of many readers, for many years. Switch it up and add apples, like my Apple Cheesecake Brioche Buns.
Berries - Use any type of berry, like my Raspberry Cheesecake Brioche Buns.
Cranberries - Use my Orange Cranberry Buns recipe for a holiday or winter twist.
Savory - Turn these buns into a breakfast delight with my Breakfast Brioche Buns recipe.
𓎩 Step-by-Step Instructions
A few instruction photos to help you nail this recipe every time.
First, make the pastry cream to let it sit in the refrigerator while the dough rises.
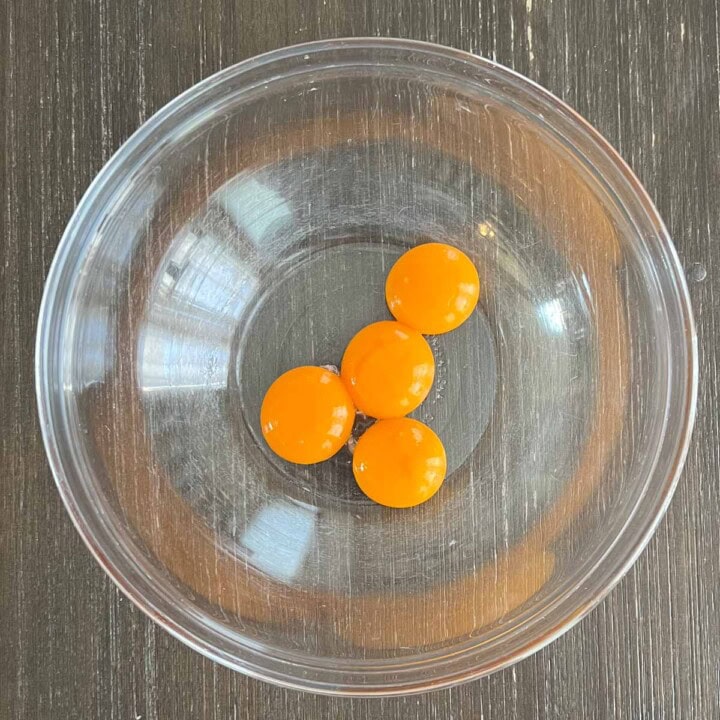
Step 1
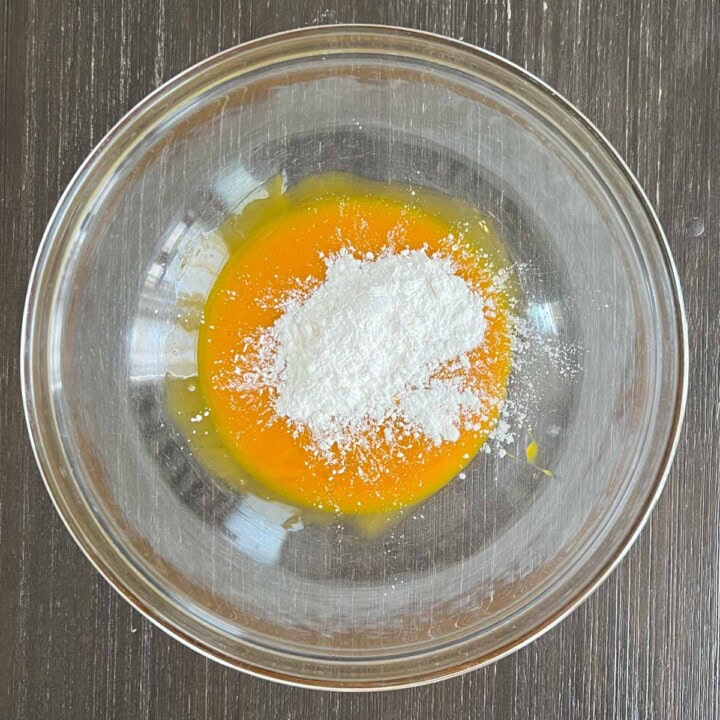
In a medium heatproof bowl, add the egg yolks and whisk them well.
Step 2
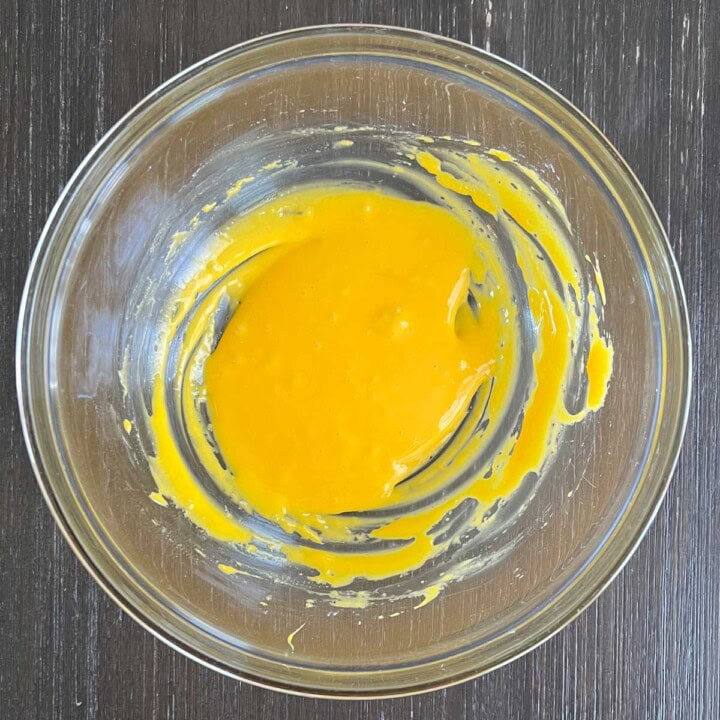
Add cornstarch to the egg yolks and whisk vigorously until completely combined and smooth.
Step 3
Once combined, set aside while you make the milk.
Step 4
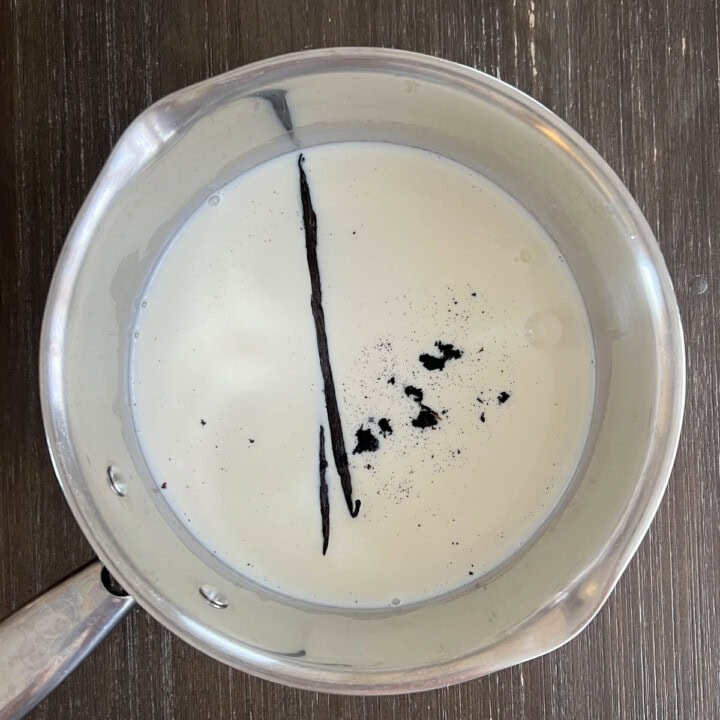
In a medium sauce pan, add milk and sugar, and whisk. Then add the scraped out seeds from the vanilla bean, as well as the vanilla bean.
Place the pot over medium heat and let the milk come to a simmer, then remove it from the heat.
💡 Hint: To scrape seeds from vanilla bean: massage the vanilla bean to soften it if it's dry. Place the bean on a cutting board and using a small knife, cut a lengthwise slit along the pod, slicing right down the middle. Pry it open, then using the edge of the knife, scrap out the seeds from both sides.
Step 5
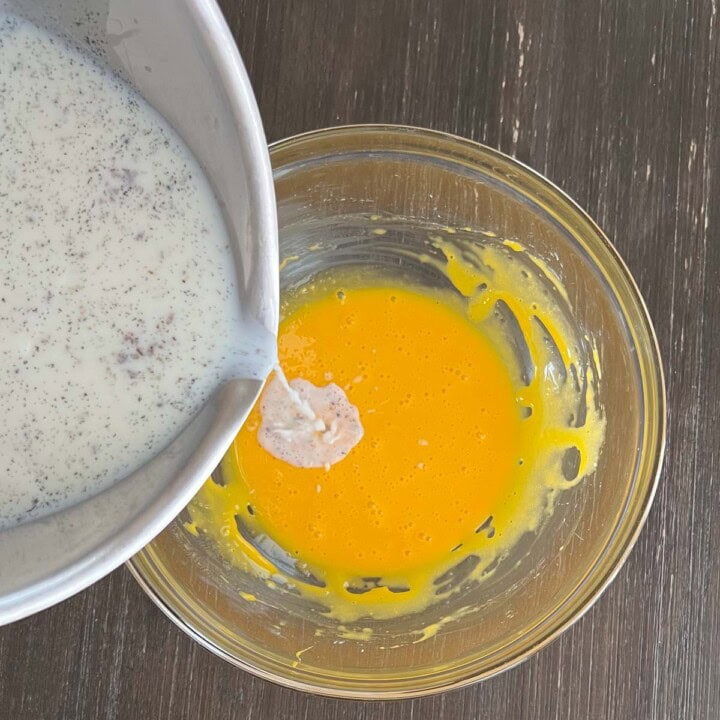
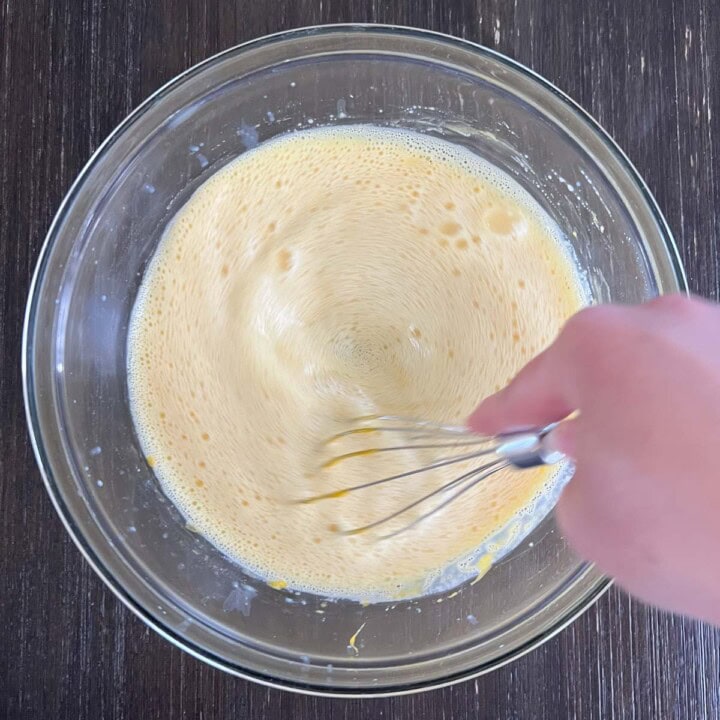
Remove the vanilla bean, then slowly start pouring the milk into the egg mixture, but make sure to whisk the eggs as you slowly pour the milk in.
Step 6
Whisking continuously will help prevent eggs from curdling or scrambling (if it does a little, it's ok. We'll be running it through a sieve).
Step 7
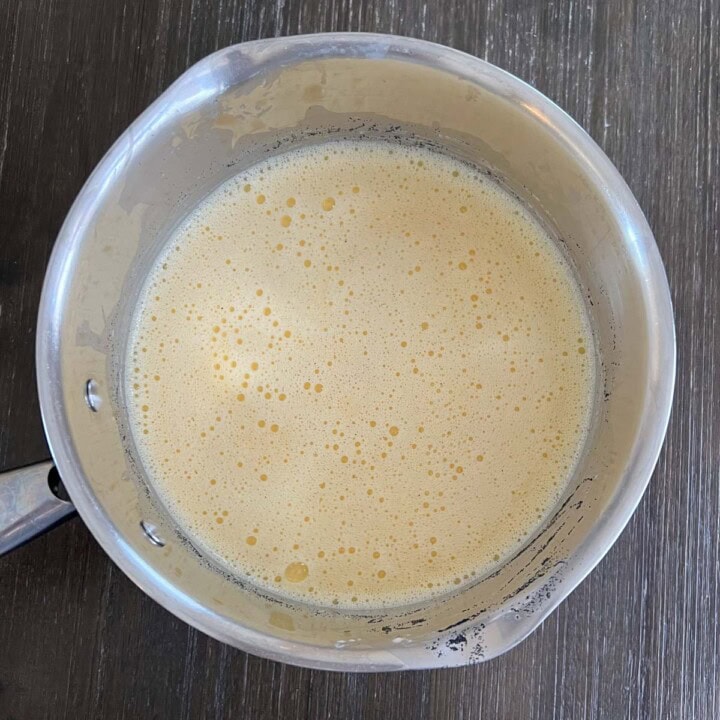
Once completely mixed in, pour the custard back into the sauce pan and place it back on medium heat, whisking constantly. It will start to thicken pretty quickly, so keep a close watch and whisk continuously. It will take about 30-60 seconds to reach custard thickness.
Step 8
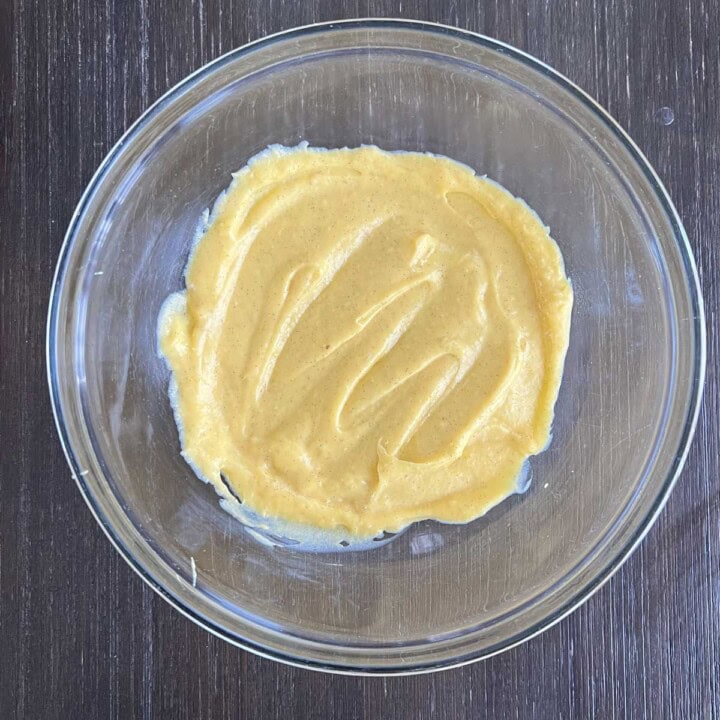
Once thick enough, turn off the heat, remove the pan from the heat and run the custard through a fine-mesh sieve into the clean heatproof bowl.
Step 9
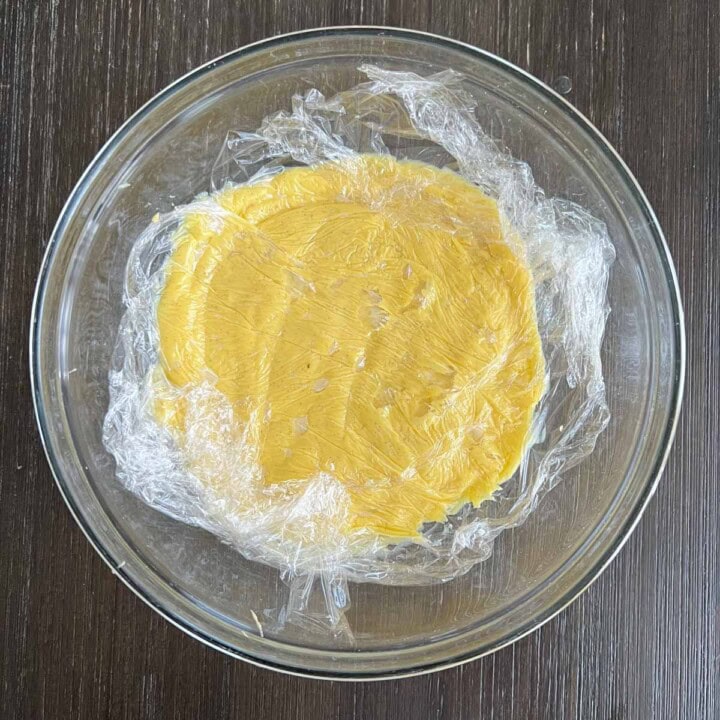
Cover with saran wrap, making sure the saran wrap touches the surface of the custard - this helps prevent a film from forming over the custard. Let sit at room temperature for about 10 minutes, then place in the refrigerator to chill for at least an hour.
Next, make the sweet brioche dough.
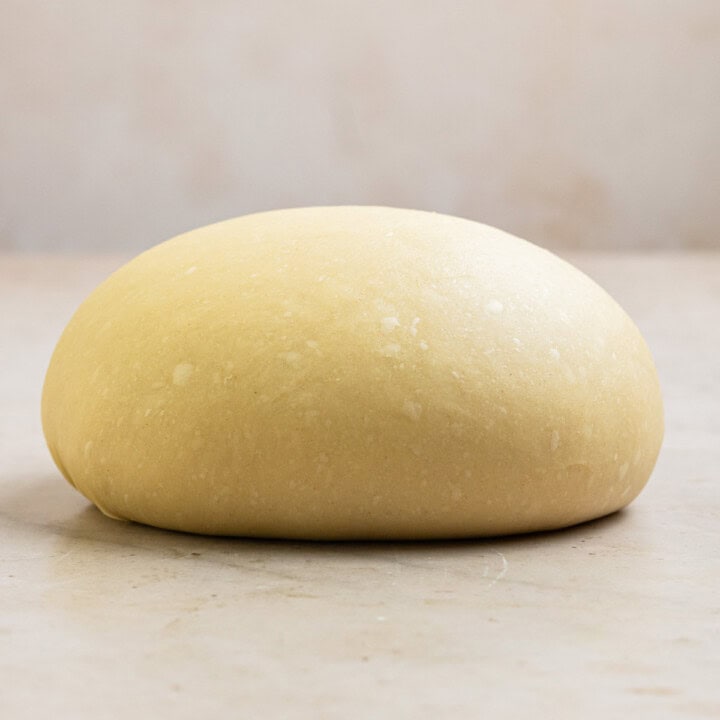
Step 10
Make brioche dough recipe.

Step 11
Once dough has risen, remove from bowl and divide into 10 equal pieces using a kitchen scale. Roll each piece into a ball and place them on the baking sheet, making sure to leave room between them.
Cover lightly with saran wrap and let rise for 30-45 minutes or until doubled in size.
🎩Trick: One trick I love doing is to pre-heat the oven to 170 degrees Fahrenheit, then turning off the oven and letting my dough proof in the oven. This cuts down on proofing time, especially if I’m in a hurry, but it also helps in the winter when it’s especially cold.
Step 12
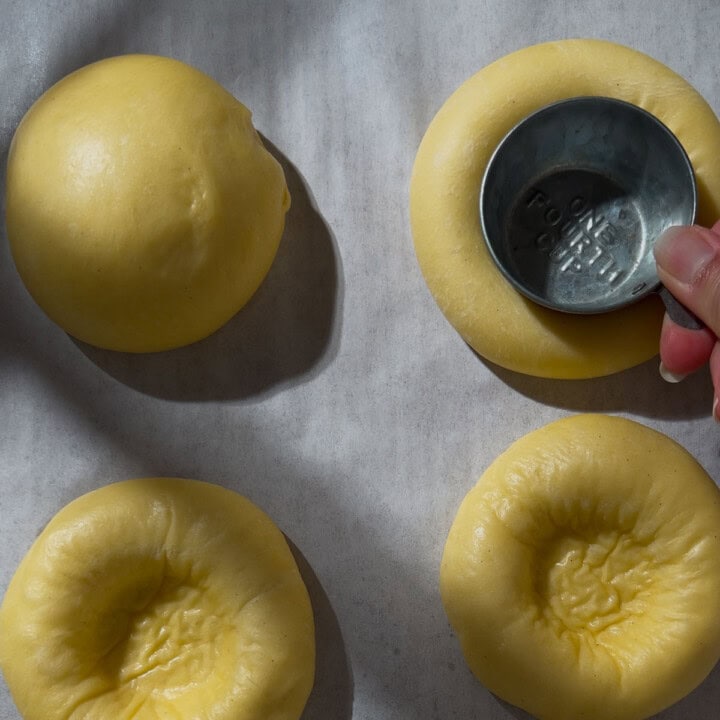
Once doubled in size, take a cup or a small bowl (make sure it's floured so it doesn't stick) and create an indent in the center. I like to use a ⅓ cup measuring cup.
Step 13
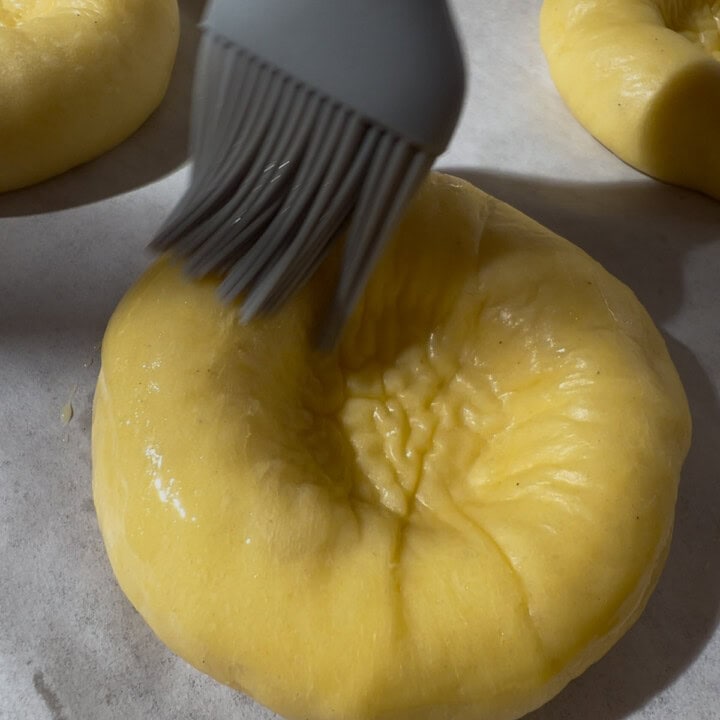
Brush egg wash on the sides of each bun.
Step 14
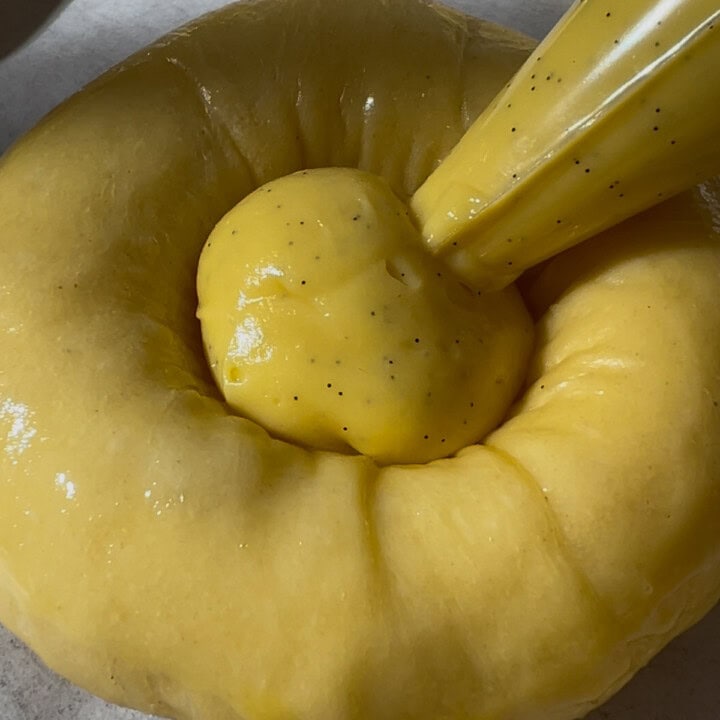
pipe pastry cream into each bun, filling it to the top.
Bake for 12-15 minutes at 375℉ until the buns become golden brown.
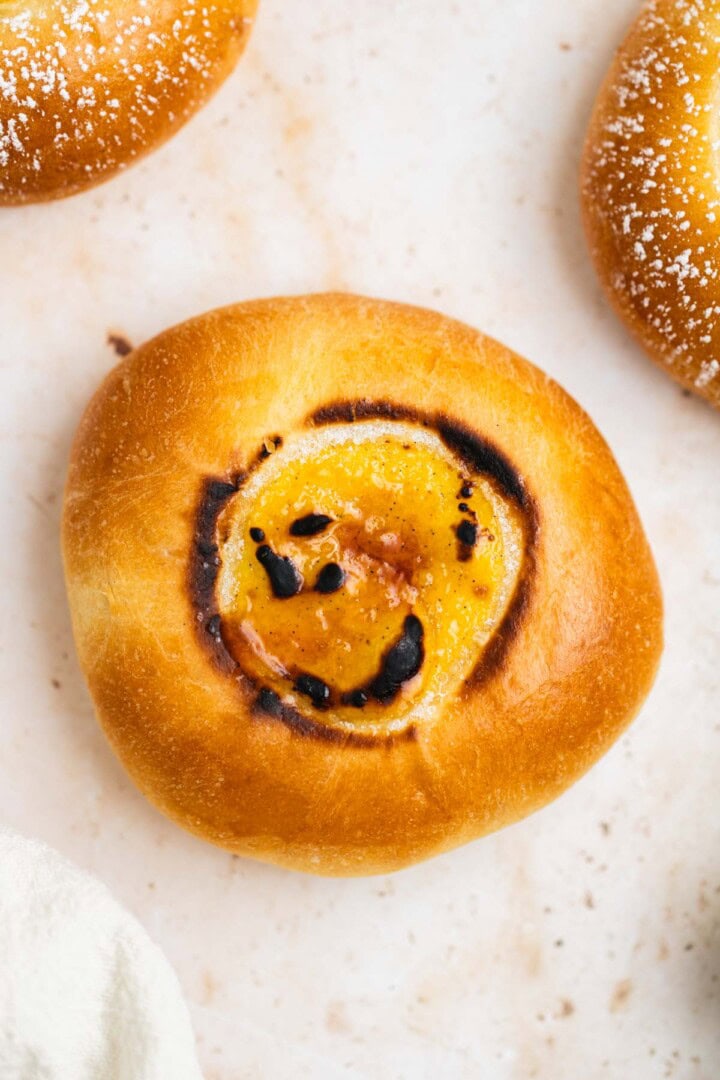
Crème brûlée buns option: Add sugar to the top of each custard bun and even it out, then using a kitchen torch, melt and caramelize the sugar. Even though I did this with a few of them, I did find it a little tricky because the edges of the custard (which is essentially the buns) started to burn before all the sugar would melt and caramelize. The taste is delicious, so if you can, I do recommend trying it with at least one bun. It's a little fun!

💬 FAQ
To avoid lumps, always whisk the mixture constantly and add the hot milk slowly to the egg mixture. Straining the custard through a fine sieve at the end can also remove any small lumps.
Once made, cover the pastry cream with plastic wrap (pressing it directly onto the surface to prevent a skin from forming). Chill it in the refrigerator for up to 2-3 days.
Pastry cream can curdle if it’s cooked too quickly or at too high a temperature. To prevent this, cook it over medium heat and whisk constantly. Make sure you temper the eggs properly by gradually adding hot milk to the egg mixture.
Leftover pastry cream can be used as a filling for eclairs, cream puffs, tarts, or layered in cakes. You can also serve it as a dessert on its own, topped with fresh fruit.
You can absolutely make this recipe ahead of time by letting the dough proof in the refrigerator overnight for the first rise. When you’re ready to use, remove from the refrigerator and continue with the recipe. You won’t need to let the dough come to room temperature because you’ll still need to proof a second time, so it will have plenty of time.
Absolutely! This Brioche Buns Recipe can be a base for so many bread recipes. You can top it with whatever you desire, sweet or savory. I have a series of brioche buns recipes you can try.
My milk temperature is a guide so that you don’t use too hot of milk (could kill the yeast) or too cold of milk (won’t activate the yeast). Milk temperature between 105-115 degrees F. will do the trick and yield best results.
To know if your dough is ready, perform the windowpane test where you take a small piece of dough and stretch it out between your fingers. If it stretches out without tearing and light can pass through, then it has passed the windowpane test. If it tears, let the dough knead another 5 minutes, then perform the test again.
💡Pro Tips
Measure Flour Correctly - As always, with any recipe, use a kitchen scale, as it is the best form of measuring your ingredients. If you don't have a kitchen scale, fluff your flour, scoop flour with a spoon into a measuring cup and level off.
Don't Skip Kneading: Knead the dough for at least 10 minutes before adding the softened butter. This will ensure the dough forms and pulls away from the bowl. Then once you add the butter, knead for another 10-15 minutes until the butter is completely incorporated and the dough has pulled away from the bowl again.
Don’t add too much flour: This dough will be tacky, but shouldn’t stick to your hands. It will also be very silky (this due to all the butter added). If while kneading, the dough doesn’t come together after 15 minutes, you can add one tablespoon of flour at a time. But be patient before adding the flour. You don’t want a dry dough.
Make Ahead: You can absolutely make these Custard Buns ahead of time by letting the dough proof in the refrigerator overnight for the first rise. When you're ready to use, remove from the refrigerator and continue with the recipe. You won't need to let the dough come to room temperature because you'll still need to proof a second time, so it will have plenty of time.
Proof in pre-heated oven: One trick I love doing is to pre-heat the oven to 170 degrees Fahrenheit, then turning off the oven and letting my dough proof in the oven. This cuts down on proofing time, especially if I’m in a hurry, but it also helps in the winter when it’s especially cold.
Windowpane test: To know if your dough is ready, perform the windowpane test where you take a small piece of dough and stretch it out between your fingers. If it stretches out without tearing and light can pass through, then it has passed the windowpane test. If it tears, let the dough knead another 5 minutes, then perform the test again.
Avoid curdling: To prevent this, cook the custard over medium heat and whisk constantly. Make sure you temper the eggs properly by gradually adding hot milk to the egg mixture.
❄ Storage
Store any leftovers in an airtight container. Since they have custard filling, they should be stored refrigerated, which will dry them out. To reheat, you can pop them in the microwave for 45 seconds or so.
📖 Recipe Card

Vanilla Custard Brioche Buns
Equipment
- 2 Large baking sheets
- 1 Stand mixer with hook attachment
- 1 medium sauce pan
- 2 Mixing Bowl
- 1 whisk
- 1 fine-mesh sieve
Ingredients
Vanilla Pastry Cream
- 1⅓ cup (325.33 g) milk
- ¼ cup (50 g) granulated sugar
- 1 vanilla bean (seeds scraped from whole vanilla bean) or 1 teaspoon vanilla extract
- 4 (68 g) large egg yolks
- 2 tablespoon (16 g) cornstarch
Sweet Brioche Dough
- ¾ cup (202 g) +1 tablespoon warm milk, 110℉ (see notes)
- 1 teaspoon (4 g) granulated sugar
- 2¼ teaspoon (7 g) active dry yeast 1 package
- ⅓ cup (66.67 g) granulated sugar
- 3 cups (360 g) bread flour
- ¾ teaspoon (4.5 g) salt
- 2 (36 g) egg yolks
- 2 teaspoon (8 g) vanilla extract
- 6 tablespoon (84 g) unsalted butter softened
Instructions
Vanilla Bean Pastry Cream
- Prep a heatproof mixing bowl with a fine-mesh sieve on top and set aside (this will be used for the finished custard at the end).
- In a another medium to large heatproof bowl, add the egg yolks and cornstarch and whisk vigorously until completely combined and smooth. Set aside while you make the milk.4 large egg yolks, 2 tablespoon cornstarch
- In a medium sauce pan, add milk and sugar, and whisk. Then add the scraped out seeds* from the vanilla bean, as well as the vanilla bean.*To scrape seeds from vanilla bean: massage the vanilla bean to soften it if it's dry. Place the bean on a cutting board and using a small knife, cut a lengthwise slit along the pod, slicing right down the middle. Pry it open, then using the edge of the knife, scrap out the seeds from both sides.1⅓ cup milk, ¼ cup granulated sugar, 1 vanilla bean (seeds scraped from whole vanilla bean)
- Place the pot over medium heat and let the milk come to a simmer, then remove it from the heat. Remove the vanilla bean, then slowly start pouring the milk into the egg mixture, but make sure to whisk the eggs as you slowly pour the milk in. Whisking continuously will help prevent eggs from curdling or scrambling (if it does a little, it's ok. We'll be running it through a sieve).
- Once completely mixed in, pour the custard back into the sauce pan and place it back on medium heat, whisking constantly. It will start to thicken pretty quickly, so keep a close watch and whisk continuously. It will take about 30-60 seconds to reach custard thickness.
- Once thick enough, turn off the heat, remove the pan from the heat and run the custard through a fine-mesh sieve into the clean heatproof bowl. Cover with saran wrap, making sure the saran wrap touches the surface of the custard - this helps prevent a film from forming over the custard. Let sit at room temperature for about 10 minutes, then place in the refrigerator to chill for at least an hour.
Sweet Brioche Dough
- Yeast: In a small bowl, combine the warm milk, packet of yeast and a teaspoon of sugar and let sit and foam for about 5 minutes.¾ cup +1 tablespoon warm milk, 110℉, 1 teaspoon granulated sugar, 2¼ teaspoon active dry yeast
- First knead: In the bowl of a stand mixer, add flour, salt, 2 egg yolks, vanilla extract, and the activated yeast mixture and let knead for at least 10 minutes until the dough comes away from the bowl and forms a sort of ball.3 cups bread flour, ⅓ cup granulated sugar, ¾ teaspoon salt, 2 egg yolks, 2 teaspoon vanilla extract
- Second Knead: Start adding the softened butter slowly until all is incorporated and knead for an additional 12-15 minutes until the dough forms a smooth ball and does not stick to the sides of the bowl. When touching with your finger, the dough should not stick at all. The dough will be tacky and a lot smoother/silkier than a regular dough.6 tablespoon unsalted butter
- Important: Don't add more flour. Let the dough knead and come together. It will be tempting to add more flour, but trust the process. If you weighed your ingredients using a scale, the dough should all come together.
- Windowpane test: To know if your dough is ready, perform the windowpane test where you take a small piece of dough and stretch it out between your fingers. If it stretches out without tearing and light can pass through, then it has passed the windowpane test. If it tears, let the dough knead another 5 minutes, then perform the test again.
- First proof: Place the dough in an oiled bowl and cover and let rise for at least an hour.
Shaping & Filling
- Prepare two large baking sheets and line them with parchment paper.
- Shape: Once dough has risen, remove from bowl and divide into 10 equal pieces using a kitchen scale. Roll each piece into a ball and place them on the baking sheet, making sure to leave room between them.
- Second Proof: Once all have been formed, transfer them to a baking sheet, cover lightly with saran wrap and let rise for 30-45 minutes or until doubled in size. Try to make sure there is enough space between them so that they aren't touching when rising.
- Once dough balls have risen, Preheat oven to 375℉
- Remove the pastry cream from the refrigerator and mix very well since it will be cold and maybe a little clumpy. I like to use a handheld mixer with beater attachments and give it a good mix for about 30 seconds to a minute. You can then transfer the pastry cream to a piping bag to easily fill each bun. I use a piping bag and just cut a hole with a scissors. If you don't have piping bags, you can use a ziplock bag.
- Create indent: Once doubled in size, take a cup or a small bowl (make sure it's floured so it doesn't stick) and create an indent in the center. I like to use a ⅓ cup measuring cup.Brush egg wash on the sides of each bun.
- Fill: pipe pastry cream into each bun, filling it to the top.
- Bake: Bake for 12-15 minutes until the buns become golden brown.
- Cool: Remove from the oven and let cool for at least 5 minutes, then transfer to a cooling rack. Once cooled, you can add fruits or powdered sugar, if you like.
- Crème brûlée option: Add sugar to the top of each custard bun and even it out, then using a kitchen torch, melt and caramelize the sugar. Even though I did this with a few of them, I did find it a little tricky because the edges of the custard (which is essentially the buns) started to burn before all the sugar would melt and caramelize. The taste is delicious, so if you can, I do recommend trying it with at least one bun. It's a little fun!
- Store any leftovers in an airtight container. Since they have custard filling, they should be stored refrigerated, which will dry them out. To reheat, you can pop them in the microwave for 45 seconds or so.
Notes
Reader Feedback
Since developing my first brioche bun recipe in 2022, I've had many people remake them, with such great feedback. I have, however, had people mention that the dough can be a little too sticky/wet and they needed to add more flour. For this reason, I went back to the drawing board to test the recipe with ¼ cup less milk, so only ¾ cup total milk instead of 1 cup, and it turns out great! However, this is with my controlled environment, and with using a scale to weigh my flour. If you're a long-time reader who has had success with a whole cup of milk, then keep making the recipe that way. Tips for the best results:- Measure Flour Correctly: As always, with any recipe, use a kitchen scale, as it is the best form of measuring your ingredients. If you don’t have a kitchen scale, fluff your flour, scoop flour with a spoon into a measuring cup and level off.
- Don’t Skip Kneading: Knead the dough for at least 10 minutes before adding the softened butter. This will ensure the dough forms and pulls away from the bowl. Then once you add the butter, knead for another 10-20 minutes until the butter is completely incorporated and the dough has pulled away from the bowl again.
- Don’t add too much flour: This dough will be tacky, but shouldn’t stick to your hands. It will also be very silky (this due to all the butter added). If while kneading, the dough doesn’t come together after 15 minutes, you can add one tablespoon of flour at a time. But be patient before adding the flour. You don’t want a dry dough.
- Make Ahead: You can absolutely make this recipe ahead of time by letting the dough proof in the refrigerator overnight for the first rise. When you’re ready to use, remove from the refrigerator and continue with the recipe. You won’t need to let the dough come to room temperature because you’ll still need to proof a second time, so it will have plenty of time.
- Proof in pre-heated oven: One trick I love doing is to pre-heat the oven to 170 degrees Fahrenheit, then turning off the oven and letting my dough proof in the oven. This cuts down on proofing time, especially if I’m in a hurry, but it also helps in the winter when it’s especially cold.
- Windowpane test: To know if your dough is ready, perform the windowpane test where you take a small piece of dough and stretch it out between your fingers. If it stretches out without tearing and light can pass through, then it has passed the windowpane test. If it tears, let the dough knead another 5 minutes, then perform the test again.
- Humidity: Due to reader feedback, I've updated the recipe to reduce the amount of milk to ¾ of a cup instead of a whole cup. See Reader feedback for more info.


Jackie says
Hi thank you for the beautiful recipe. I'm curious about the grams. I only use a scale and I see you mention to use a scale but the grams listed are from the automatic converter on the recipe (the metric button). Are these grams the same weight you use or different? Thank you
Hakima says
Hi! Yes, these are the same weights that I use. It's actually not totally automatic, as I make sure to go through the conversion when publishing recipes. I recently added this feature to my recipe card, so most older recipes won't have it yet because I have to manually update them. But yes, these are the exact gram measurements that I use when making my recipes.
Cc says
Hi is the oven a fan oven or non fan?
Thanks
Hakima says
Hi there! I use a regular conventional oven (non fan).
Cc says
Also - can these be frozen? And if so what’s the best way to defrost? Thanks ☺️
Hakima says
You can freeze uncooked dough. After the first rise, divide into buns and then wrap individually and freeze. Thaw in the refrigerator overnight, and then let come to room temperature before proceeding with the recipe. I've never frozen baked brioche buns before.
Cc says
Hi Kima do you think this recipe could be shaped into doughnuts and fried?
Hakima says
Hi there! I haven't tried it, so I don't know, but if you try it out, I'd love some feedback on how it turns out.